


Label every monitor cable at both ends with a short, consistent code that names the display, port, direction, and purpose. Use color only as a quick cue, then rely on printed text for the exact connection.
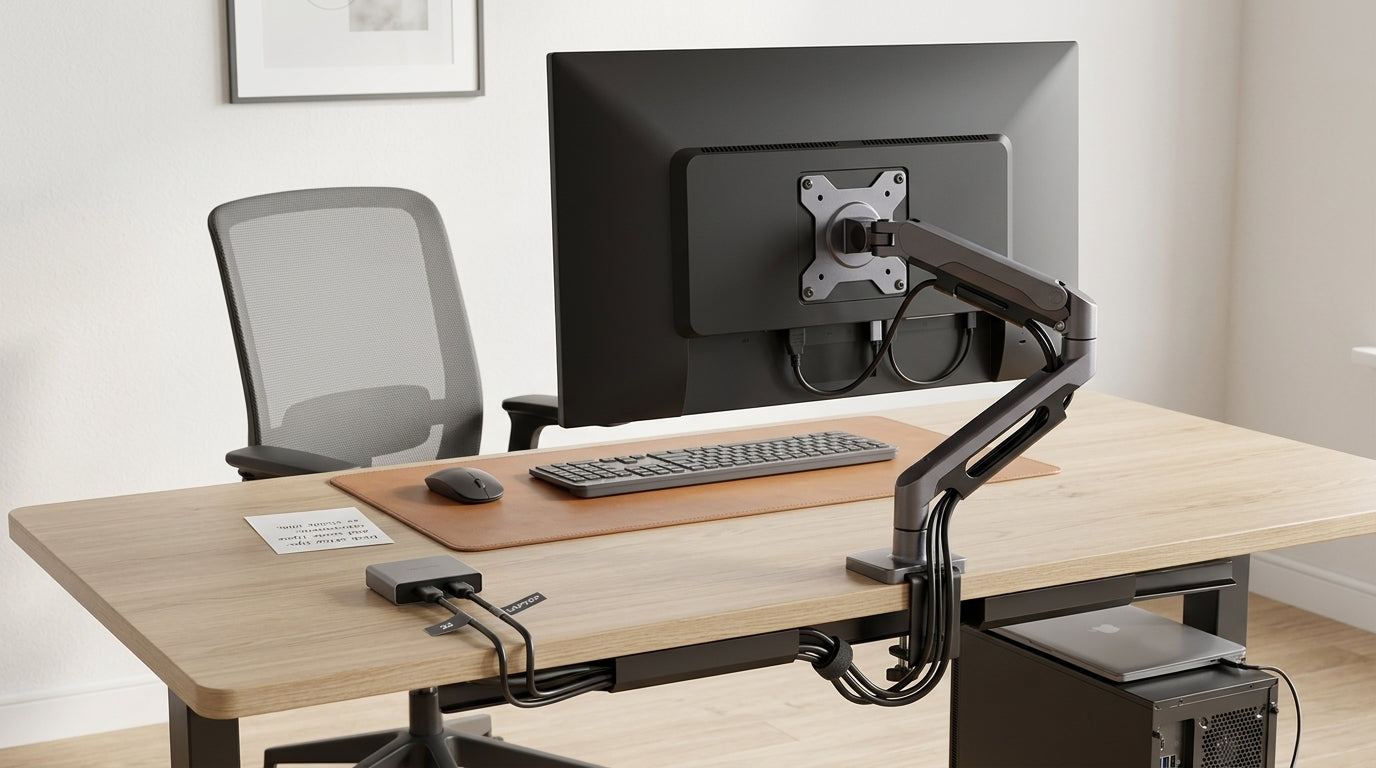
Is your desk frozen mid-troubleshooting while you guess which identical black cable feeds the gaming monitor, dock, webcam display, or USB-C portable screen? A clear label system lets you unplug the right cable without crawling under the desk or disturbing a working connection. Here is a practical way to label monitor cables so every DisplayPort, HDMI, USB-C, power, and data lead identifies itself instantly.
Why Monitor Cable Labels Matter
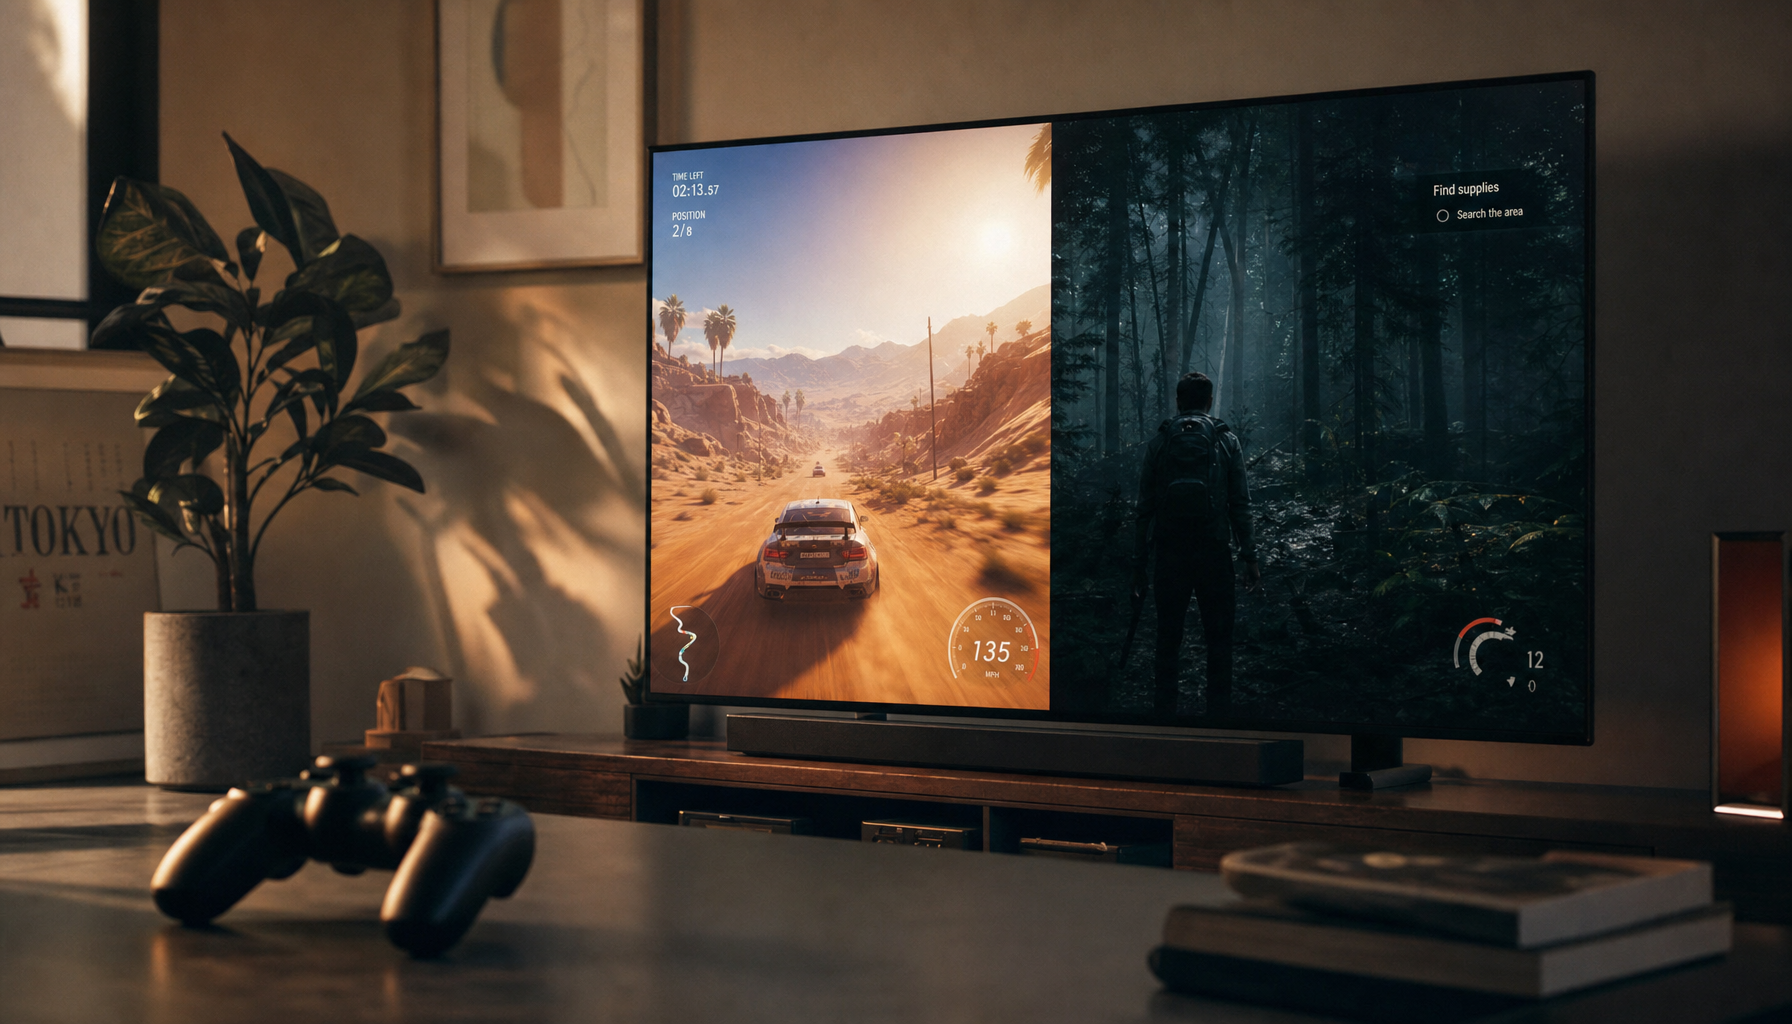
Modern display setups are no longer simple. A competitive gaming desk may run DisplayPort to a high-refresh monitor, HDMI to a console, USB-C to a portable screen, a USB upstream cable for the monitor hub, and separate power for each panel. Office displays add docking stations, KVM switches, webcams, Ethernet adapters, and charging cables. Once those cables disappear behind a monitor arm or under-desk tray, visual guessing becomes unreliable.

Good cable labeling reduces the slowest part of troubleshooting: tracing. Poor cable organization can create reliability, safety, and maintenance problems, and the same logic applies at desk scale. A loose monitor power cord or the wrong USB-C cable can mimic a display failure, bandwidth issue, or dock problem.
Cable labeling means marking each cable with an identifier that tells you what it connects, where it goes, and what it does. Cable and wire identification is used so cables can be quickly recognized and traced, which is exactly what you want when a 240 Hz panel drops to 60 Hz or a portable screen stops receiving signal.
Build a Label Code Before You Print Anything

The biggest mistake is labeling cables with vague names like “monitor,” “HDMI,” or “USB.” Those labels feel useful on day one, then fail as soon as a second display arrives. A better code answers four questions in compact text: which device, which port, where the other end lands, and what job the cable performs.
For a three-display productivity and gaming setup, use names such as M1-DP-GPU1, M2-HDMI-DOCK, M3-USBC-LAPTOP, and M1-USBUP-PC. In plain English, those mean main monitor via DisplayPort to graphics card port 1, second monitor via HDMI to dock, third monitor via USB-C to laptop, and main monitor USB upstream to PC. This keeps labels short but specific.
A strong labeling system should use standardized terminology, because different people need to interpret the same tag the same way. Standardized nomenclature helps prevent misunderstandings when technicians, coworkers, or future-you return to the setup months later.
Label Both Ends, Not Just the Visible End

A single label near the monitor is better than nothing, but it does not help when you are looking behind the PC, dock, UPS, or power strip. Put matching labels near both connectors. On a monitor cable, place one label within a few inches of the display-side connector and the matching label near the source-side connector.
For example, if your left office display is connected to a docking station, label the monitor end L-DISP HDMI DOCK and the dock end L-DISP HDMI MON. The wording does not need to be fancy; it needs to be consistent. The instant value is that you can stand at either end and know what the cable is before unplugging it.
This is especially important for USB-C, because USB-C is a connector shape, not a guarantee of identical capability. USB-C support can include data, power, video, and audio depending on the cable and device. If one USB-C cable supports video for a portable monitor and another is only used for charging, label that difference directly with USBC VIDEO or USBC PWR.
Use Color as a Cue, Not the Whole System
Color coding is fast, but it should not replace text. Use color to group cable families: blue for video, red for power, green for data, and yellow for dock or KVM paths. Then use printed text to identify the exact cable.
This matters because color systems vary by workspace. Color coding gives immediate recognition, but written details are needed for precise identification. On a monitor desk, a blue label can tell you “video path,” while M1-DP-GPU1 tells you exactly which video path.
If you use color, keep a small legend under the desk, inside a cable tray, or on the back of a monitor arm. It can be as simple as Blue = display signal, Red = power, Green = USB/data, and White = temporary/test. That prevents the system from becoming personal memory instead of shared information.
Choose the Right Label Type for the Cable

Monitor setups use cables with different thicknesses, handling patterns, and heat exposure. A slim USB-C cable needs a different label than a thick power cord or DisplayPort cable running through a monitor arm.
Label type |
Best for monitor setups |
Pros |
Cons |
Wrap label |
HDMI, DisplayPort, USB-C, Ethernet |
Compact, clean, easy to read when aligned |
Can peel if adhesive is weak or cable is handled often |
Flag label |
Thin USB-C, audio, small power leads |
More readable on small cables |
Can snag behind arms or trays |
Heat-shrink label |
Permanent workstation, AV rack, studio desk |
Durable and polished |
Must be installed before final connector placement |
Snap-on tag |
Cables you change often |
Reusable and easy to move |
Bulkier than printed wraps |
Flag labels, wraps, and heat-shrink tubes are common cable identification methods because each solves a different visibility and durability problem. For most home offices and gaming desks, printed wrap labels are the best default. Use flag labels only where the cable is too thin to read comfortably, and use heat-shrink when the setup is stable enough to justify a semi-permanent marker.
Make Labels Readable Under Real Desk Conditions
A label that looks perfect in your hand may be useless behind a monitor. The text must face outward, survive rubbing, and remain readable in low light. Use all caps, short names, and enough contrast. Avoid tiny decorative fonts.
Label size also matters. Written markings need to stay legible, accessible, and durable against wear, scratching, and small print. On a thick monitor power cord, a larger wrap label works well. On a thin USB-C cable, a small wrap may force unreadable text, so a flag label or clip-style tag may be better.
For a clean desk, align every label the same way. Place source-side labels so they can be read from the rear of the desk, and monitor-side labels so they can be read when the display is tilted or pulled forward on its arm. This small placement discipline saves time later.
Separate Signal, Power, and Data Before Labeling
Before you print labels, unplug only what is safe to unplug, then separate cables by function. Keep power cords visually distinct from signal cables. Route DisplayPort and HDMI together, group USB upstream and downstream cables together, and isolate charging cables for portable screens.
Planning cable pathways before securing cables helps reduce clutter and makes troubleshooting simpler. The practical desk process is straightforward: identify every cable, decide its route, label both ends, then fasten it with reusable ties or sleeves.
Do not overtighten bundles. Monitor arms move, standing desks rise, and portable screens get disconnected. Leave enough slack for motion, especially near hinge points, docks, and power bricks. A perfect label system still fails if the cable is strained or hidden inside an overpacked sleeve.
A Practical Labeling Template for Monitor Desks
Use a compact format that stays readable on small labels. A reliable pattern is DISPLAY - CABLE - SOURCE - PURPOSE. For example, MAIN-DP-GPU-GAME, SIDE-HDMI-DOCK-OFFICE, PORT-USBC-LAP-VIDEO, and MAIN-USBUP-PC-HUB.
For power cables, use DEVICE - POWER - OUTLET. Useful examples include MAIN-PWR-UPS for a primary monitor plugged into a battery backup and PORT-PWR-STRIP for a portable display power adapter connected to a desk power strip. This is valuable when troubleshooting a blank screen, because you can immediately separate a signal problem from a power problem.
For KVM or dock setups, include the switching device in the label. MAIN-DP-KVM-PC and MAIN-DP-KVM-LAP are much clearer than two labels that both say MAIN-DP. When displays switch between work and gaming systems, the label should reveal the current path without requiring guesswork.
Printed Labels Beat Handwritten Tape for Permanent Setups
Handwritten masking tape is fine for a one-hour test bench or temporary desk move. It is cheap, fast, and flexible. The downside is that marker ink fades, tape edges lift, and letters can become ambiguous.
A label printer produces cleaner, more durable identifiers. Printed, clearly legible labels are recommended in data center labeling because labels that smear, fall off, or become unreadable lose their operational value. The same standard is worth applying to a high-performance display setup where one wrong cable can limit refresh rate, disable HDR, or break USB hub behavior.
If you use temporary handwritten labels, write in block capitals and replace them once the setup is confirmed. Treat handwritten tags as draft labels, not the final system.
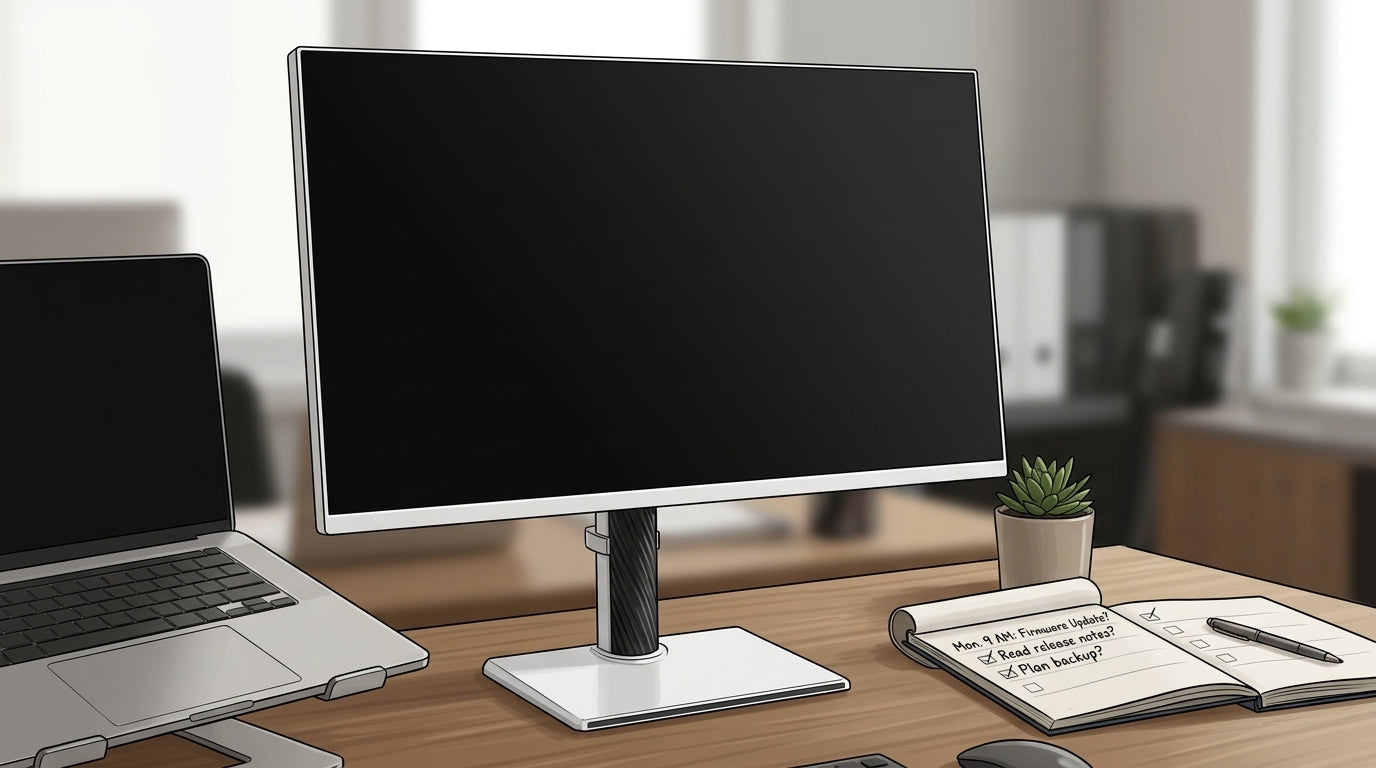
Keep a Tiny Cable Map
Labels are for instant recognition; a cable map is for recovery when the setup changes. Create a simple note with each monitor name, cable type, source device, and port. Store it in your notes app, on a small card taped under the desk, or in your office documentation folder.
A useful map entry might read: MAIN: DP from GPU port 1, USB upstream to rear motherboard USB-A, power to UPS outlet 3. That one sentence can save a full desk teardown after a PC upgrade or dock replacement.
Accurate cable labeling becomes more powerful when paired with documentation, because you can trace connections without physically following every cable. For a pro display setup, that documentation also helps when comparing performance issues across ports, docks, and adapters.
Common Mistakes That Slow Troubleshooting
The most common failure is labeling by cable type only. HDMI does not tell you whether the cable serves the left monitor, console, capture card, dock, or secondary PC. Another mistake is using color with no written key, which works only until memory fades.
Another problem is hiding labels inside cable sleeves or behind fixed trays. If you need to remove the sleeve to read the label, the label is in the wrong place. Put labels at accessible endpoints first, then use sleeves and trays for the middle runs.
Finally, avoid changing the meaning of codes over time. If M1 means main monitor today, do not let it mean middle monitor after a desk rearrangement unless you relabel every affected cable. Consistency is what makes the system fast.
FAQ
Should I label factory monitor power cords?
Yes. Factory cords often look identical, especially when multiple monitors use similar black AC cables or external power bricks. Label the device end and the outlet end so you can restart or replace one display without interrupting the others.
Should HDMI and DisplayPort cables get different label colors?
Yes, if color helps you scan faster. Use color for category recognition, then text for the exact connection. A blue label for video plus MAIN-DP-GPU1 is much stronger than blue alone.
What should I do with spare cables?
Label spares by capability and length if you know them, such as HDMI SPARE DESK or USBC CHARGE ONLY. Keep them separate from installed cables so troubleshooting does not turn into a cable hunt.
Closing
A high-refresh gaming monitor, office docking station, or portable screen is only as dependable as the cable path behind it. Label both ends, keep the code short, use color as a secondary cue, and document the final route. The next time a display goes dark, you will troubleshoot the connection instead of untangling the desk.


