


A KVM monitor arm setup without signal loss is mostly a movement and compatibility problem. Once the monitor leaves its stock stand, cable reach, connector angle, and weight balance change at the same time, so the goal is stable everyday use, not a perfect signal promise in every setup. For readers comparing the baseline hookup first, these notes on USB-C KVM ergonomics explain why the arm changes the cable path.

What Changes When a KVM Monitor Goes on an Arm?
For most desks, the biggest change is not the display itself. It is the way the monitor moves. An arm adds travel, rotation, and tilt, which can pull on USB-C, HDMI, DisplayPort, and peripheral cables if the route was built for a fixed stand.
That matters because the path now has to stay stable through the full motion range. A cable that works when the screen is still can become fragile once the monitor lifts, swivels, or sits farther from the desk edge. If you want the basic hookup order before you move the screen, the USB-C KVM monitor setup refresher is the right place to start.
In practice, the right question is not "Will the arm work?" It is "Will the arm still work after I move the monitor every day?" If the answer depends on tight cable fit or a stressed connector, the setup is already too delicate.
Check Mount Fit Before You Move the Screen
Start with physical fit before you worry about signal quality. A monitor arm can only do its job if the VESA pattern matches, the arm is rated for the display, and the desk leaves enough room for the arm to move without pinching the cables.
That check gets more important with curved or front-heavy panels. KTC's own VESA mount weight-limit guide notes that curvature can shift the center of gravity and increase tilt-joint torque, so a monitor can be within weight and still sag or drift once it is on the arm. The same caution applies to ultrawide shapes and deeper cabinets behind the desk.
A practical decision sentence: if the arm only fits when the cables are bent hard or the panel sits close to its limit, that is not a clean fit, even if the weight number looks acceptable. Check the VESA plate, arm rating, desk depth, and rear clearance first.
If you want a product example to compare against your setup, the KTC H27P6 27-inch 4K 160Hz monitor is a reasonable reference point because it includes USB-C, KVM support, and VESA compatibility, but you still need to verify that your arm, desk, and cable path match the exact installation.

Route Cables So Movement Stays Gentle
The safest routing strategy is simple: measure the cable path at the monitor's full travel, then leave controlled slack so the ports never carry the load. The advice in this cable-management guide is to measure at maximum height and add slack, which is the right mindset for monitor arms too, because motion changes the stress pattern.
Use a small service loop at the port, then secure the cable along the arm so the connector does not become the hinge point. KTC's cable-management guidance points to the same idea: keep enough slack to reduce mechanical tension when the monitor moves, and the KVM setup feels much less rigid.
A good routing order is:
- Move the arm through its full range before fastening anything.
- Add only the slack needed for the highest and lowest positions.
- Keep the loop near the port small and loose.
- Fasten the cable to the arm so it moves with the display.
- Recheck whether HDMI, USB-C, DisplayPort, and peripheral cables still move freely together.
If you need a cable-focused follow-up, the USB-C bandwidth check guide is a good next stop, because cable quality matters more once the path bends and flexes.
Keep Video and USB Switching Stable
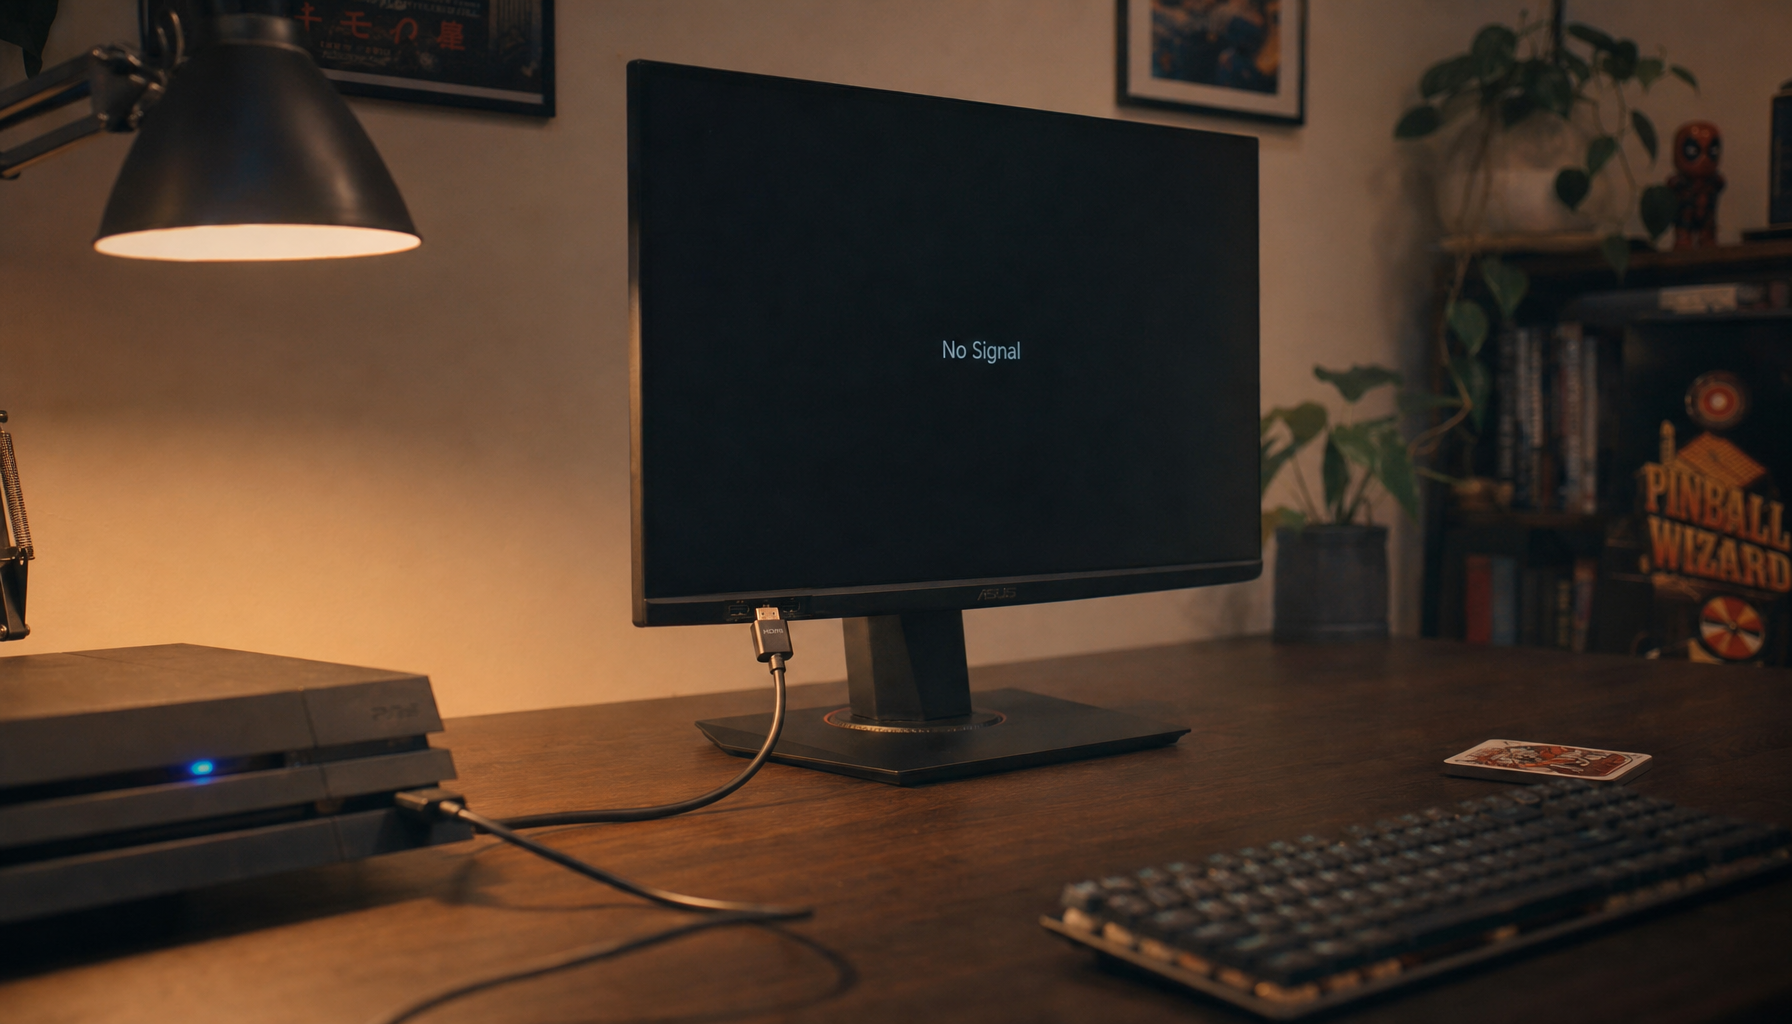
When an arm-mounted KVM setup starts acting up, the symptoms usually show up in predictable ways. The most common are brief video cutouts, flicker during movement, USB devices that stop following the selected computer, or a source that only fails after the monitor is repositioned.
The table below shows the most useful first checks.
| Symptom | Likely Movement-Related Cause | First Check | Safer Next Step |
|---|---|---|---|
| Video drops or flashes when the arm moves | Cable tension, bend stress, or a marginal passive run | Watch whether the image fails only at certain positions | Shorten the path, reduce strain, or move to a better cable |
| Flicker or unstable picture | Excessive length or poor-quality signal path | Test the same setup at a neutral arm position | Replace the weak link before blaming the monitor |
| USB keyboard or mouse stops switching | Upstream USB path is strained or loosely seated | Confirm the KVM upstream connection first | Reroute the upstream cable with less pull |
| One source works, another drops out | A borderline cable is only stable in some signal modes | Compare the failure at rest versus full arm travel | Use a more robust cable type or a shorter path |
This is where the USB-C limit matters. The USB-IF loss-budget document is the cleanest authority here: passive USB-C paths at higher data rates are sensitive to attenuation, so the safer default is a short, stable route. If the arm forces repeated flexing or the path gets long enough that the signal is no longer stable, Cable Matters' USB-C length guidance points to active or optical cables as the safer long-reach option.
A practical rule: passive USB-C is fine only when the route stays short and controlled. Once the monitor arm makes the cable path more dynamic, the setup should be treated as a motion problem first and a bandwidth problem second. That is the core of USB-C KVM ergonomics: keep the link short, stable, and easy on the ports.
For a deeper explanation of how USB-C can carry video, data, and power on the same link, see DisplayPort Alt Mode over USB-C. It helps explain why one weak cable can affect both the display and the KVM side at the same time.
Verify the Setup Before You Tighten Everything
Do not fully lock the arm until the motion test passes. Move the monitor through its full range, then watch for taut cables, image flicker, USB dropouts, arm drift, or connector strain. If the screen shifts only when it reaches one position, the routing still needs work.
A clean final check is usually simple:
- Raise the arm to its highest position.
- Lower it to its lowest position.
- Swivel and tilt it the way you will actually use it.
- Confirm that no cable goes tight at any point.
- Turn the display on and switch inputs while it is moving.
- Check USB peripherals on both connected computers.
If anything feels forced, back off and reroute before tightening the hardware. That is the point where the Premium Display Signal Cables become a sensible replacement category to inspect, especially if your current cable only works when it is perfectly still.
For readers building a work-focused desk instead of a gaming-first setup, the Office Monitor collection is a better browsing path than guessing at specs from the arm alone. And if you are comparing a monitor with stronger built-in ergonomics, the KTC H27P6 27-inch 4K 160Hz monitor is still worth checking against your arm and desk dimensions before you buy.
USB-C KVM ergonomics also improve when you compare the monitor's physical depth, port placement, and cable route before installation rather than after. If you are still choosing between displays, the KTC OLED 27-inch 2K 240Hz USB-C gaming monitor is another useful comparison point for arm-mounted desks where motion and cable slack both matter.
Final Takeaway
A KVM monitor arm setup without signal loss is usually achievable when the mount fits, the cable path is short and controlled, and the setup is tested at full travel before you lock it down. If passive cabling only works when everything is perfectly still, switch to a more robust cable plan instead of forcing the arm to carry the strain. The safest move is to verify fit first, then route for motion, then tighten last.
FAQs
How Do You Know If a Monitor Arm Can Support a KVM Display?
Check three things first: the VESA pattern, the arm's stated load range, and whether the desk leaves enough rear clearance for the arm to move. If the monitor is curved or front-heavy, treat balance as important as raw weight.
Can USB-C Carry Video and KVM Functions Through a Monitor Arm?
Yes, if the source, cable, monitor, and upstream path all support it. The arm does not break USB-C by itself, but it can expose weak cables or connectors because the path now flexes during use.
Why Does the Picture Cut Out After the Monitor Is Raised or Swiveled?
That usually points to cable tension, a tight bend near the port, or a cable that is only stable when still. Test the same setup at different arm positions to confirm whether motion is the trigger before replacing hardware.
What Cable Length Is Best for a KVM Monitor on an Arm?
The best length is the shortest cable that still allows full motion with gentle slack. If you need extra reach to make the route safe, manage that slack along the arm instead of leaving a long loose loop under the desk.
Can I Use a Curved or Ultrawide Monitor on a KVM Arm Setup?
Yes, but it needs more careful balance and routing than a flat panel. Curved and ultrawide screens can change leverage on the arm, so confirm the load rating, desk depth, and cable path before you treat the setup as finished.
A few careful checks are enough for most desks. If you want to compare displays or cables after the arm is set, use the linked guides and product pages above as a starting point.


