


A rental-friendly professional display setup starts with the right support system: desk clamps, freestanding mounts, mobile stands, or modular rental screens. The goal is to protect the apartment, keep the screen stable, and still get professional-grade ergonomics, brightness, and cable control.
Start With the Lease-Safe Mounting Plan
Before buying hardware, separate temporary changes from permanent ones. A drilled wall mount may look clean, but in a rental, it can lead to wall repair charges or a lease conflict.
For most apartments, the best first choice is a clamp-on monitor arm attached to a sturdy desk edge. It gives height, tilt, swivel, and rotation without touching the wall. If the desk edge is weak, glass, rounded, or too thin, use a weighted freestanding stand instead.

For lightweight decor around the setup, renter-friendly mounting tape can work, but test it first. Removable adhesives may still damage old or flaky paint, especially on textured walls; mounting tape is safest when the surface is clean, smooth, and weight-rated.
Quick check before mounting:
- Confirm the display’s weight and mounting-hole pattern.
- Confirm the mount’s weight rating.
- Test desk stability with gentle pressure.
- Keep pull tabs reachable on removable strips.
- Photograph the wall before setup.
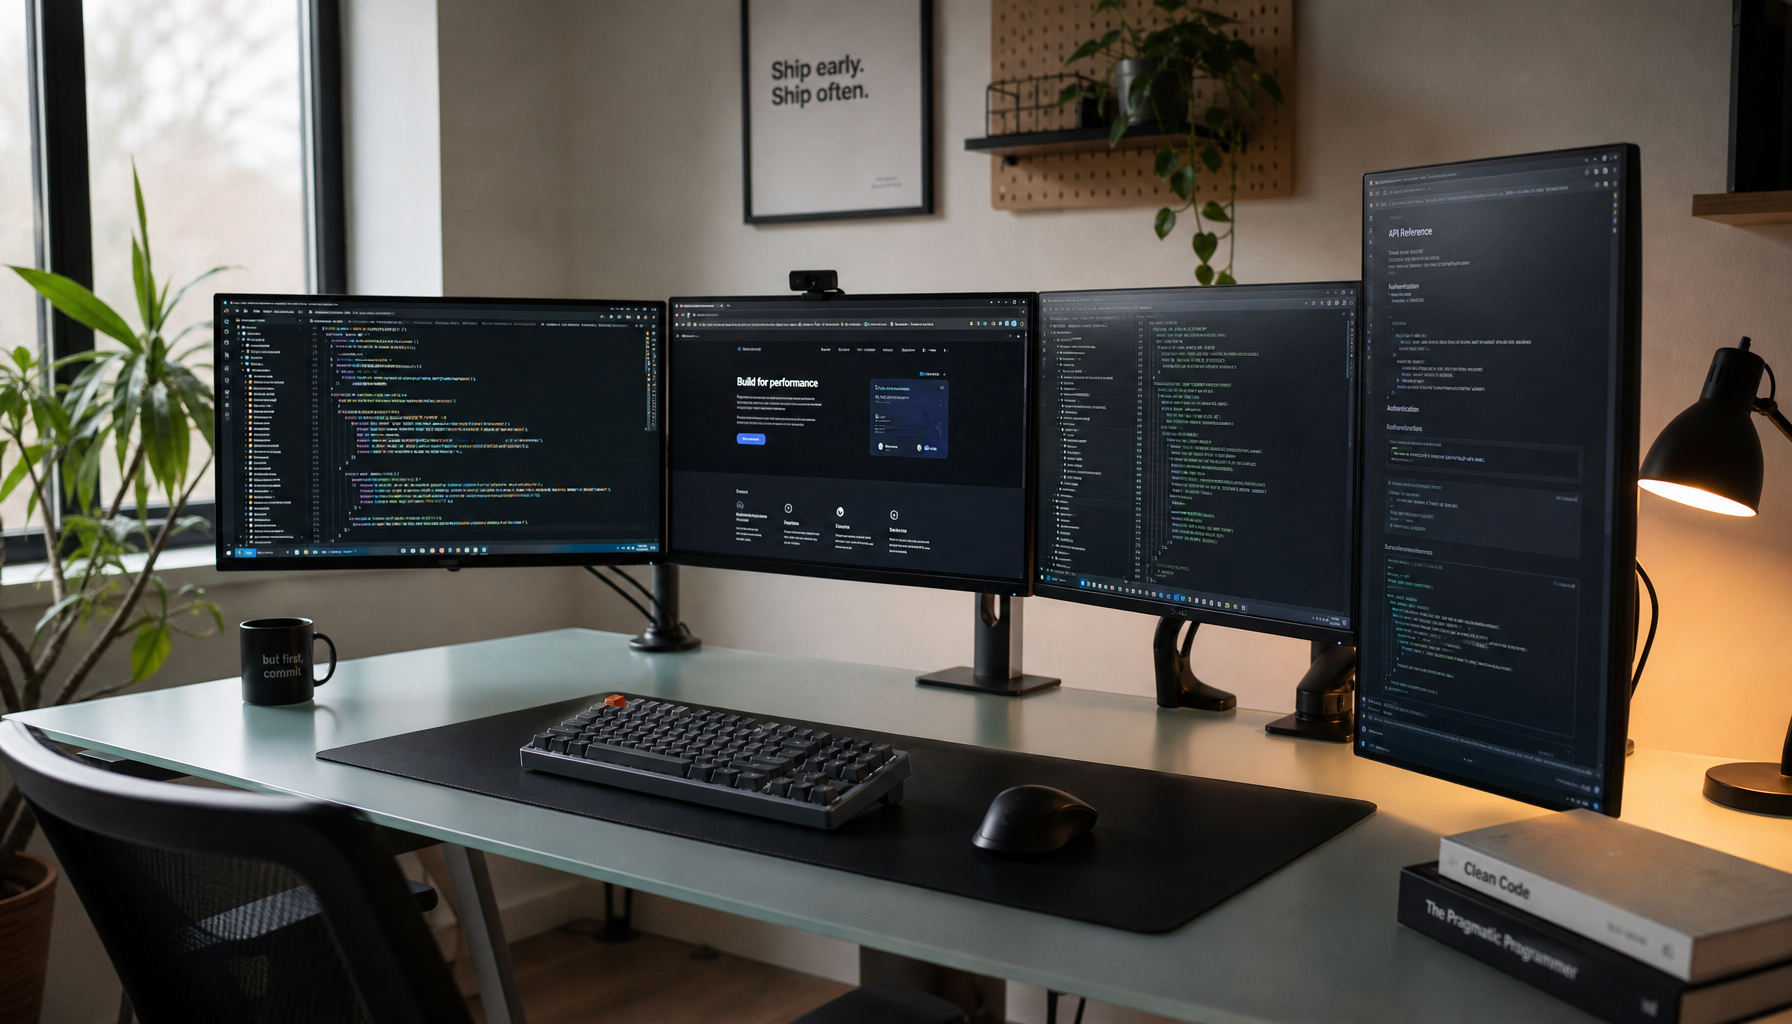
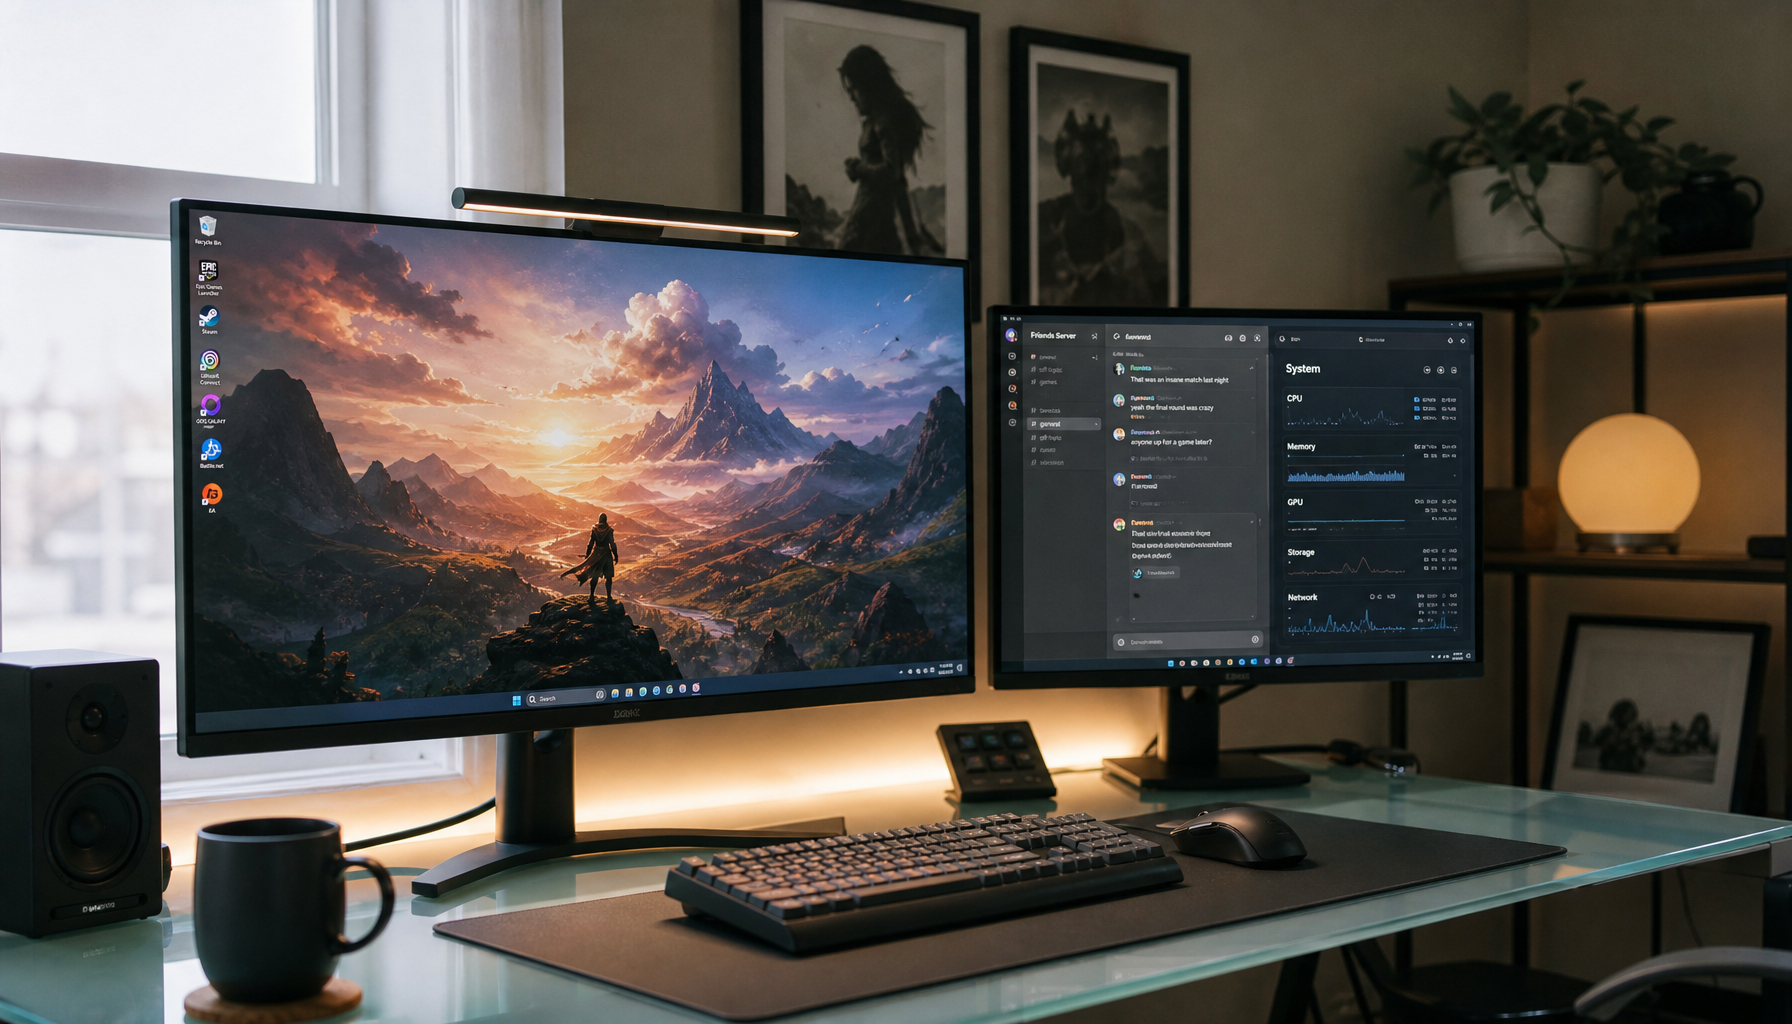
Choose Hardware That Matches Your Screen Workload
A professional display is not just a big screen. Gaming, office productivity, and signage-style use all stress hardware differently.
For an office or creator desk, a 27- to 32-inch monitor on a clamp arm is usually the best value. It keeps the screen at eye level, clears desk space, and supports a cleaner cable path.

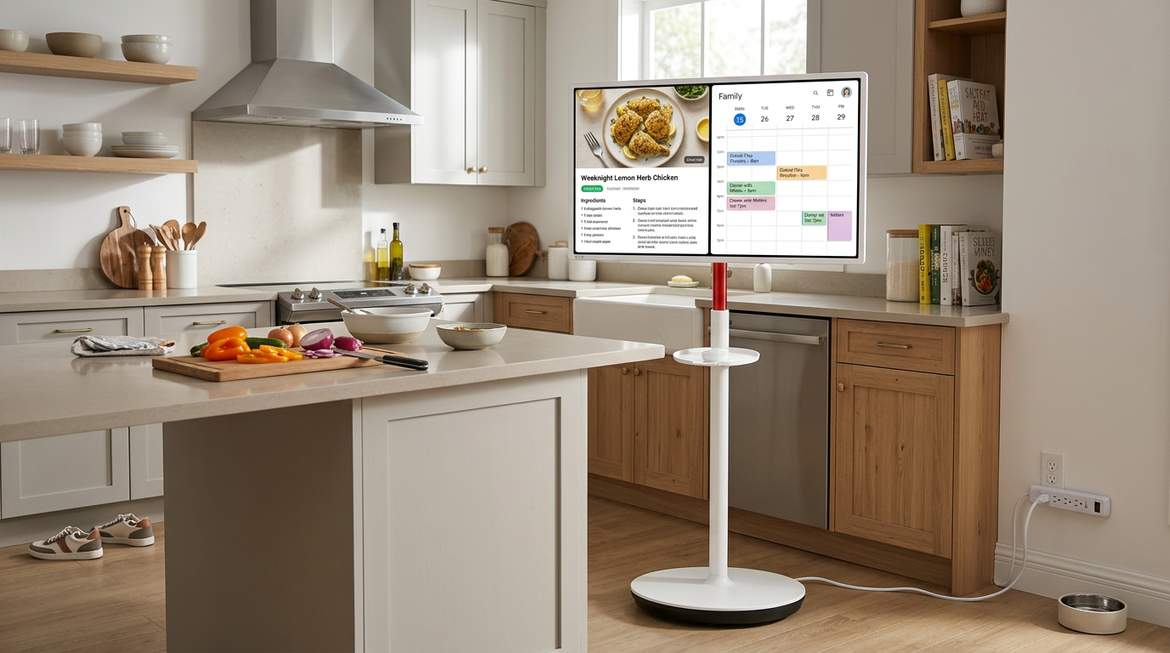
For lounge presentations, dashboards, or always-on messaging, consider a commercial display or signage-capable screen. Home TVs are often built for daily entertainment, while commercial displays are better suited to long operating hours, brighter environments, and remote management.
If you only need a screen for a short campaign, pop-up event, or temporary showroom, rental LED systems can make sense. Rental LED displays are modular, portable, and built for repeated setup and removal, making temporary LED screen systems more flexible than fixed installations.
Build a Stable, Clean, Immersive Setup
Think like an installer, not just a renter. Measure first, sketch the screen position, then assemble the support before placing the display. A five-minute layout check prevents a common problem: a great monitor in a bad viewing position.
For productivity, place the top third of the screen near eye level. For gaming, keep the center of the screen aligned with your natural seated gaze. For shared viewing, prioritize sightlines from the main seating area and avoid glare from windows or overhead lights.
Cable control matters. Use adhesive-backed cable clips only on surfaces you can test, and route power cables along furniture legs, behind desks, or through removable sleeves. Avoid stretching video or power cables across walking paths.

A professional-looking rental setup usually comes from restraint: one strong screen, one stable mount, one clean cable route, and enough lighting control to make the panel look intentional.
Add Smart Control Without Overbuilding
If your display shows schedules, menus, dashboards, announcements, or rotating brand content, use digital signage software instead of manually swapping files. It lets you schedule and remotely manage content across screens, and remote display management is especially useful when the screen is not just a personal monitor.
For a single rental apartment or home office, keep it simple: a reliable media player, wired video input, wireless internet, and a cloud dashboard are enough. For multiple screens, prioritize device compatibility, local storage, access controls, and support.
Adhesive and clamp solutions are non-permanent, but they are not risk-free. Stability still depends on surface condition, weight rating, and correct installation.
Removal Day: Protect the Deposit
Plan takedown before move-out week. Power down the display, remove cables first, then take the screen off the mount before loosening clamps or stands.
Pull adhesive strips slowly according to the product instructions, not outward from the wall. Wipe surfaces, patch only if your lease allows it, and compare the space with your move-in photos.
A strong rental display setup should leave only one thing behind: the impression that the room worked harder while you lived there.


