


Skin tones can look right on one screen because that display is shaping your choices through brightness, white point, color range, contrast, and room lighting. When the image moves to a phone, office monitor, print, or social feed, those hidden assumptions move with it.
Your Monitor May Be Editing With You
Retouching skin is not just color work. It is display work.
A too-bright screen makes skin look clean and open while you edit, so you may darken faces without realizing it. A cool white point can make warm undertones look excessive, pushing you to remove healthy reds and oranges. A wide-gamut panel running unmanaged can make saturation look richer than it will on a standard web display.

For web-first delivery, full sRGB coverage is usually the practical baseline. For print, stronger Adobe RGB support matters more because the printable color range can be wider in key tones. Photography monitor buyers are often advised to match gamut to workflow, not simply buy the biggest specification sheet, because print work needs different color priorities than social delivery.
The result: your edit may be technically consistent with your monitor, but not with your audience.
Brightness and White Balance Break Skin Fast
Skin tones are especially vulnerable because viewers notice tiny shifts in warmth, redness, and exposure. A portrait can survive a slightly blue sky; a slightly gray face feels wrong immediately.
White balance controls whether neutral tones appear warm or cool, and incorrect balance can create an image-wide color cast. Skin also reflects the light it was photographed under, so soft shade, window light, flash, and mixed office lighting all create different correction demands.
For controlled editing, many LCD workflows use a D65-style white point around 6500K for screen delivery, while print workflows may target warmer, paper-like conditions. Monitor brightness also needs discipline: standard editing often lands near 120 nits, while darker rooms may need less.

If your display is at showroom brightness, your retouching instincts are probably overcompensating.
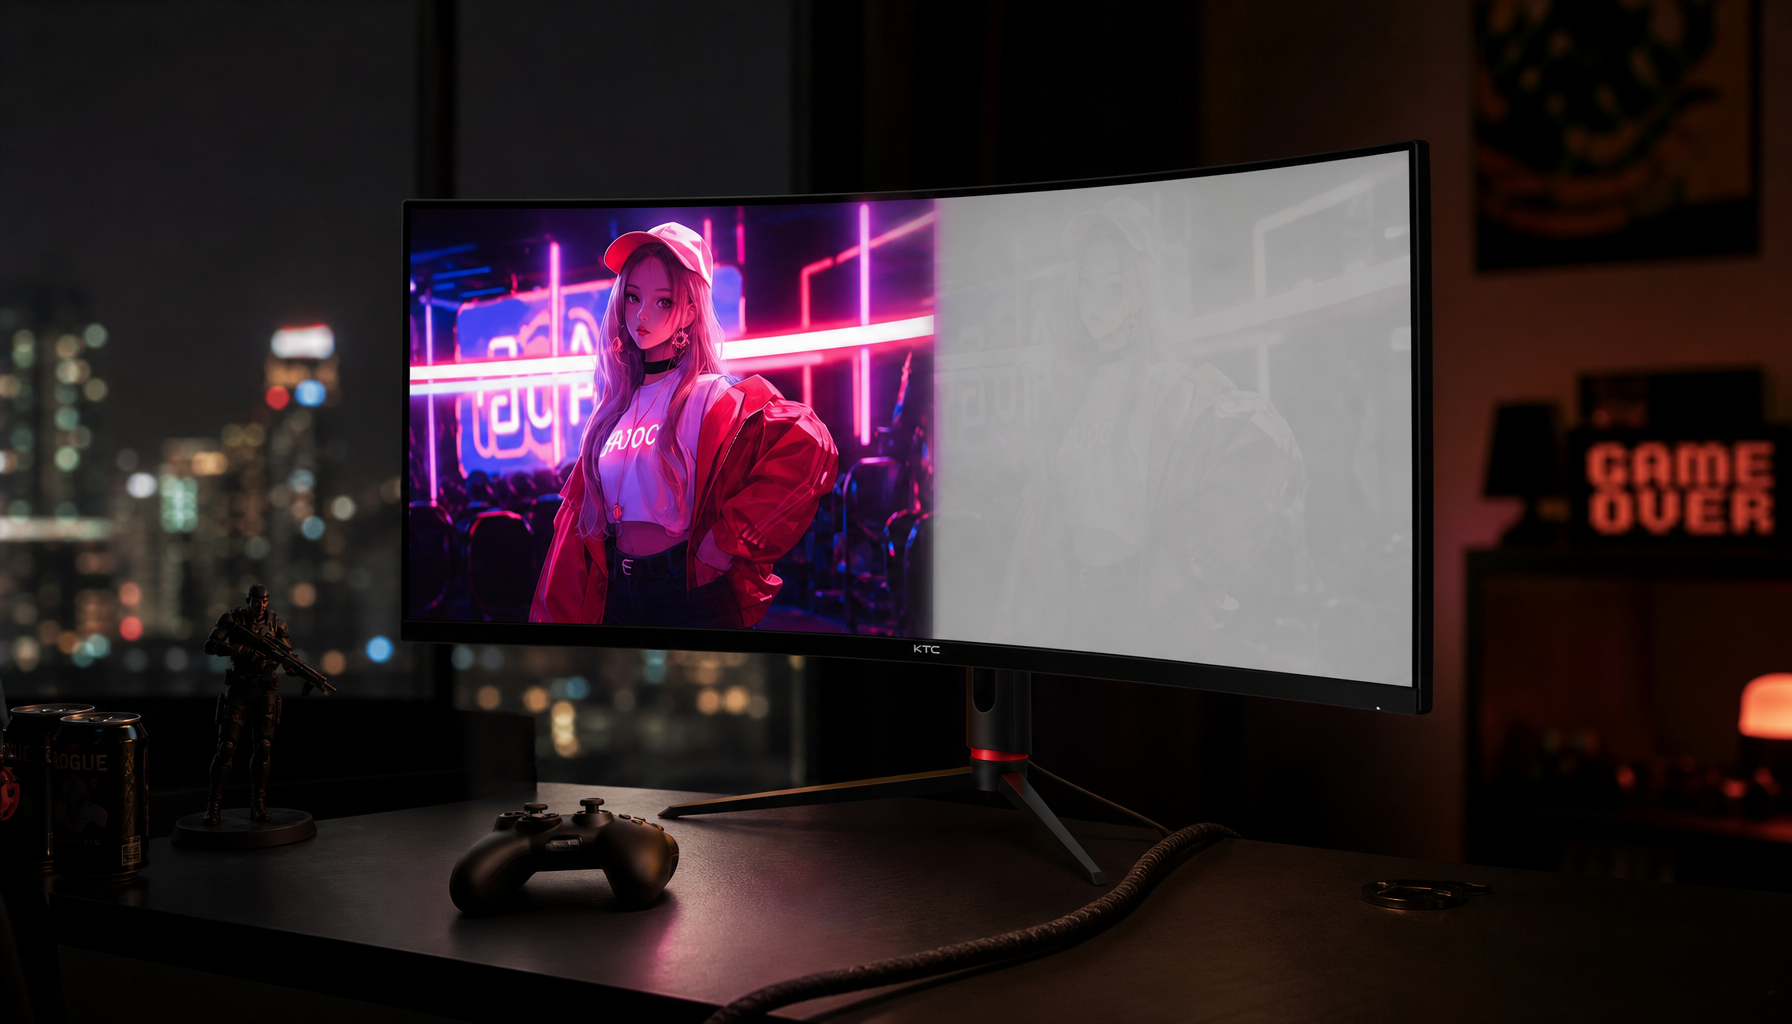
The “Perfect” Display Is Not the Average Display
A premium OLED, mini-LED, or factory-calibrated IPS panel can make a portrait look immersive and polished. That is excellent for judging detail, texture, and contrast, but it can also create a trap: the final viewer may be using a budget laptop, an oversaturated phone, or an office display in harsh daylight.

Modern HDR displays can push brightness and dynamic range far beyond standard SDR screens, but HDR photo work needs careful display choice and calibration support. Some photography-focused HDR recommendations prioritize high peak brightness, strong blacks, and reliable calibration because HDR photography work exposes display weaknesses quickly.
For skin, this means deep blacks can make contouring feel elegant on your screen, while a weaker display may flatten the same face. High contrast can make pores and texture look crisp, while a glossy phone may make the edit look too sharp or too red.
A better display is not the problem. An unmanaged display workflow is.
A Reliable Skin-Tone Check Workflow
You do not need to chase every device. You need a repeatable reference process.
Use this quick pass before exporting portraits:
- Calibrate monthly with a colorimeter when color matters.
- Edit in the target color space, usually sRGB for web.
- Keep screen brightness consistent across sessions.
- Check skin on one phone and one ordinary office display.
- Soft-proof or brighten carefully for print tests.

A monitor with hardware calibration, an IPS panel, matte finish, and strong uniformity gives you a better foundation. Some professional displays also include guided calibration tools for more consistent color workflows.
The real win is not making skin perfect on your screen. It is making your screen a trustworthy launch point for everywhere the portrait will be seen.


