


Stealth and horror games often hide critical tactical cues like enemy silhouettes, tripwires, and floor textures in the darkest 0–10% of the luminance range. High-contrast self-lit OLED and local-dimming Mini-LED panels deliver superior blacks for immersion, yet without targeted tuning they can crush those near-black details or snuff faint highlights, costing visibility in dark-room sessions. A repeatable shadow detail monitor workflow—focusing on gamma, Black Equalizer limits, and local dimming levels—helps you preserve atmosphere while ensuring you never miss a gameplay cue.

Why Dark Scenes Hide Critical Gameplay Cues in Stealth and Horror
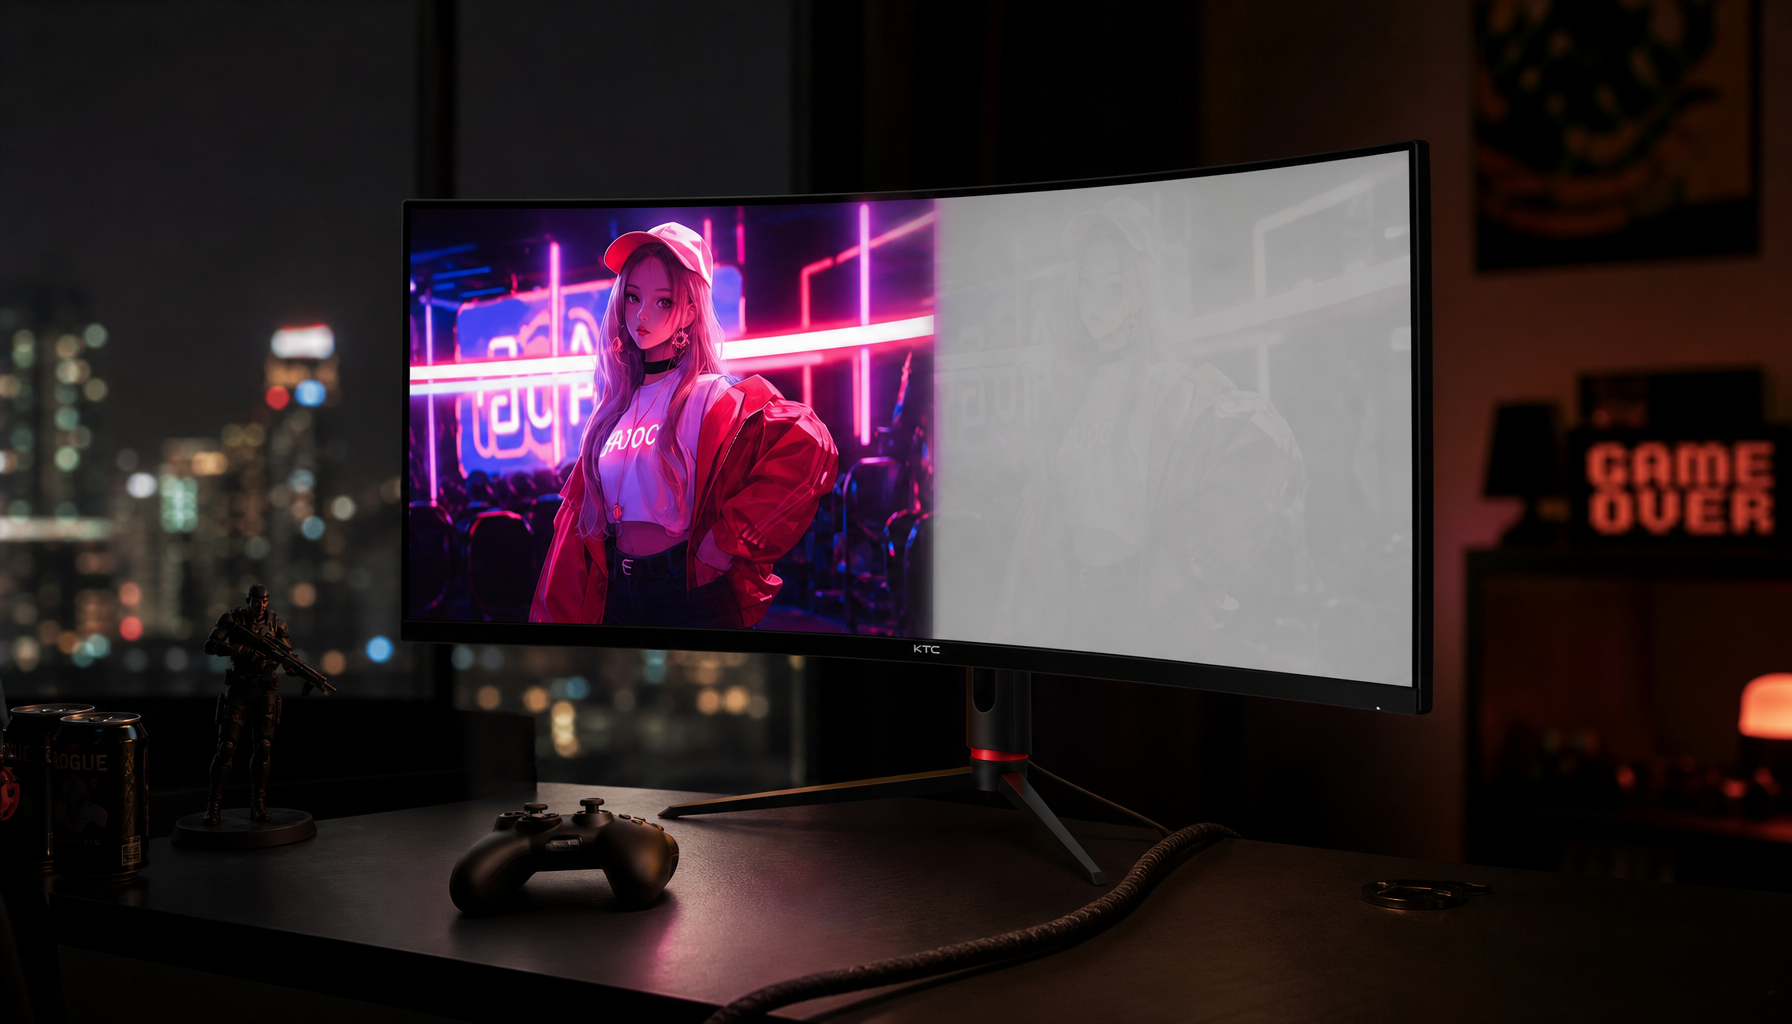
In stealth and horror titles, the most important information lives in the near-black luminance range. Enemy outlines against a wall, faint path markers on the floor, or the glint of a distant torch all occupy roughly the 0–10% brightness zone. As this official KTC shadow detail guide notes, high-contrast panels excel here in theory but often fail in practice without calibration.
OLED panels can turn the first few gray steps into absolute black, hiding motion cues. Mini-LED local dimming, especially on the “High” setting, can aggressively dim small bright elements until they vanish. Default gamma curves and black-enhancement features frequently trade away usable shadow detail for cinematic depth. The result is frustration: you know something is there, yet the display refuses to show it.
The fix is not simply raising brightness. It requires understanding your panel’s specific failure mode—near-black crush on OLED or highlight snuffing on Mini-LED—then applying targeted adjustments that respect the hardware’s strengths. This keeps the deep blacks that make horror atmospheric while restoring the visibility competitive single-player gamers need. For broader context on panel strengths, see our comparison of MiniLED vs. OLED: Which Display Technology Wins for Gaming in 2025? and the explanation of What “Local Dimming Zones” Mean in Monitor Backlight Technology.
Resolving OLED Near-Black Crush: Gamma Curves and Black Equalizer Limits
OLED’s perfect per-pixel blacks create an unintended side effect: near-black crush. The darkest gray shades become visually indistinguishable from true black, erasing subtle movement or outlines that games render in the 2–8% luminance band. This issue appears more pronounced at higher refresh rates or with variable refresh rate (VRR) enabled on certain panels.
The practical OSD solution on KTC OLED models is to raise Black Equalizer (BE) to 11. This gently lifts the first visible gray steps so silhouettes and textures reappear without introducing noticeable gray haze. Setting BE to 12 remains within the safe quality ceiling for most users; anything above 12 typically flattens contrast and destroys the immersion advantage that drew you to OLED in the first place.
Gamma 2.2 usually pairs best with this adjustment in typical gaming rooms. It raises the lower end of the curve more linearly than darker cinema presets, improving visibility without washing out the image. For a dedicated OLED option that benefits from these exact tweaks, consider the KTC OLED 27" 2K 240Hz/0.03ms USB-C Gaming Monitor | G27P6.
Tuning Mini-LED Local Dimming to Prevent Highlight Snuffing
Mini-LED monitors achieve high peak brightness and strong contrast through hundreds of local dimming zones. When set to “High,” the algorithm can overreact to small bright pixels against dark backgrounds, effectively extinguishing them. Distant enemy eyes, faint tripwires, or subtle environmental highlights disappear—an especially costly problem in stealth infiltration or horror exploration.
Switching local dimming to “Medium” provides the best balance for gameplay. It preserves those 1-pixel tactical cues while still delivering deep blacks and strong HDR impact. Black Equalizer tuning on Mini-LED follows a similar 10–12 range, though native contrast differences mean you may settle slightly higher than on OLED before haze appears.
The chart below visualizes this trade-off across typical stealth and horror scenes.

Suitable Mini-LED models for this workflow include the KTC Mini LED 27" 4K 160Hz HDR1400 Gaming Monitor | M27P6 and KTC Mini LED 27" 180Hz 2K HDR1400 Gaming Monitor | M27T6. Both respond well to the Medium dimming recommendation.
Choosing the Right Gamma Setting for Your Room Lighting
Room lighting largely dictates the best gamma curve. In typical 20–50 lux gaming environments—most home setups with some ambient light—Gamma 2.2 lifts near-black detail more effectively than the darker BT.1886 (cinema) curve. BT.1886 shines only in completely light-controlled “batcave” rooms; otherwise it crushes detail further.
Many players experience the “toggle tax”: constantly switching HDR modes, local dimming, or gamma between work and gaming. Choosing one stable setting (usually Gamma 2.2 with your panel-specific BE and dimming values) reduces friction and makes the monitor a more practical daily driver. Our broader calibration guide, Calibrate Your Gaming Monitor in 5 Steps for a Pro-Level Upgrade, expands on integrating these choices into a full workflow.
A Repeatable Shadow Detail Monitor Workflow for In-Game Validation
Tuning is only useful if you can verify the result. Use this repeatable process in any dark scene:
- Load a known challenging area—night missions in stealth games or the opening of a horror title.
- Perform the Starfield Test: pan the camera across a field of tiny dim stars or points. They should remain visible and stable without flickering or disappearing.
- Apply a standard black-level calibration pattern. Square #2 and above should be distinguishable while square #1 stays pure black.
- Check in-game silhouettes and faint highlights. If enemies or path cues reappear without the image turning gray, your settings are effective.
As the original KTC shadow detail guide demonstrates, this workflow quickly reveals whether your adjustments are working or if further refinement is needed. For additional confirmation methods, review How to Verify Your Display Calibration Is Actually Working.
The Stealth Calibration Checklist: Final Settings per Panel Type
Use these starting points, then validate with the workflow above. Results can vary slightly by game engine and firmware, so treat them as safe baselines rather than universal absolutes.
OLED Quick Start
- Gamma: 2.2
- Black Equalizer: 11
- Local Dimming / OLED Pixel Control: On (or default)
- HDR: Enabled in both OS and game
Mini-LED Quick Start
- Gamma: 2.2
- Black Equalizer: 10–12
- Local Dimming: Medium
- HDR: Enabled
Final reminder: avoid Black Equalizer values of 13 or higher on either panel type. They neutralize the contrast advantage that makes self-lit and local-dimming displays worthwhile for immersive genres. If you notice gray haze or lost atmosphere, dial BE back one step and retest.
Frequently Asked Questions
Does OLED always suffer from black crush in stealth games?
Not always, but many OLED panels compress the first few gray steps near black, especially at high refresh rates or with VRR active. Raising Black Equalizer to 11 often restores those cues without harming overall contrast. Test with the Starfield method to confirm your specific panel’s behavior.
Why does “High” local dimming on Mini-LED hide small highlights?
Aggressive zone control prioritizes deep blacks and can extinguish faint light sources smaller than a zone. Dropping to “Medium” usually preserves these 1-pixel tactical elements while still delivering strong HDR contrast in larger dark areas.
When should I choose Gamma 2.2 over a darker cinema gamma?
Gamma 2.2 is generally the visibility standard for 20–50 lux rooms common in home gaming. Use the darker BT.1886 curve only in completely light-controlled environments; otherwise you risk crushing the very shadow detail you tuned to reveal.
Can I use the same settings for every stealth or horror title?
Individual game engines implement gamma and HDR differently, so one-click settings rarely work perfectly across all titles. Start with the panel-specific checklist above, then run the repeatable validation workflow in each new game and make minor BE or dimming tweaks as needed.
Does raising Black Equalizer reduce the immersion of deep blacks?
Only when taken too far. Values of 10–12 typically add usable shadow detail without noticeable graying. Crossing into 13+ commonly introduces the “gray haze” that makes premium panels feel like ordinary displays—exactly the outcome the tuning workflow aims to avoid.


