


HDR performance depends on how well a display sustains brightness, preserves black detail, controls contrast, maps tones, handles color, and avoids artifacts in real scenes, not just on the highest nit number on a spec sheet.
Ever load a dark game scene, see a “1,000-nit HDR” badge, and still get gray blacks, glowing subtitles, or a sky that dims after a few seconds? A practical HDR check can reveal problems like clipping, blooming, lifted blacks, and full-screen dimming before you spend premium money. Here is how to read HDR performance like a display buyer who cares about immersion, accuracy, and long-session reliability.
Peak Brightness Is Only the Starting Line
Peak brightness usually describes the brightest small highlight a monitor can produce briefly. That matters because HDR needs specular punch: sunlight off a windshield, a muzzle flash in a dark hallway, or a neon sign in rain. But a monitor that hits a high number on a small window can still look weak when a large part of the screen gets bright.
A stronger measurement asks how the display behaves across different bright-area sizes and time durations. The HDR certification process tests luminance, color gamut, bit depth, contrast behavior, and response performance rather than treating HDR as a single brightness claim. That is why a certified tier can be more useful than a bare “HDR 1000” marketing line, though you still need to understand what the tier actually guarantees.
For example, a snowy open-world map stresses a display differently than a torch in a cave. The torch is a small highlight. The snowy map is a sustained, high-average-brightness scene. If the monitor has aggressive brightness limiting, the torch may pop while the snowfield looks flatter than expected.
Sustained Brightness Shows Real-Scene Stamina
Sustained brightness measures whether a display can keep bright content bright after several seconds or across a larger portion of the screen. This is critical for productivity displays, HDR video timelines, racing games, sports, and bright strategy maps where highlights are not just tiny flashes.
Independent monitor testing often separates HDR brightness into real-scene tests, peak window tests, and sustained window tests because HDR brightness behaves differently depending on scene structure. A 10% white window may look impressive, while a 50% or 100% bright scene exposes thermal limits, power limits, and automatic brightness limiting.
For a practical buying read, compare small-window brightness with full-screen or long-duration brightness. If a monitor claims 1,000 nits but sustains much less on larger windows, expect fireworks, UI glints, and lamps to look energetic, while bright skies or white office documents may feel restrained.

Measurement |
What It Reveals |
Real-World Example |
Small-window peak |
Short highlight impact |
Sparks, sun reflections, magic effects |
Full-screen brightness |
Bright-scene consistency |
Snow maps, sports, HDR desktop work |
Sustained brightness |
Whether output fades over time |
Long racing laps, static bright UI, editing timelines |
Real-scene brightness |
Practical HDR impression |
Mixed dark and bright game or movie scenes |
Black Level and Contrast Decide the “Range” in HDR
HDR is not just high brightness. It is high dynamic range, which means bright highlights need to coexist with convincing blacks. A display with a high peak but raised blacks can look like bright SDR: punchy, but shallow.
A study on HDR display quality treats HDR quality as a multidimensional perception problem involving maximum luminance, minimum luminance, color gamut or color volume, bit depth, and local contrast. The buying implication is simple: higher maximum luminance does not always mean better perceived HDR if black level rises or local contrast is weak.
This is where emissive panels, Mini LED, IPS, and VA diverge. Emissive panels can turn pixels off independently, so black scenes have strong depth and almost no haloing. Mini LED can deliver higher sustained brightness, especially in bright rooms, but its local dimming quality determines whether bright objects create blooming. IPS without meaningful local dimming may accept HDR signals, yet still struggle to create true HDR contrast.
Local Dimming Quality Beats Zone Count Alone
For LCD monitors, local dimming is the HDR engine. It lets the backlight brighten one part of the screen while keeping another part darker. But zone count alone does not guarantee excellence. The algorithm, zone size, panel contrast, response behavior, and content all matter.

A Mini LED monitor with many zones can still show halos around subtitles if the dimming algorithm is slow or too aggressive. A lower-zone display may avoid some flicker but fail to isolate small highlights. In gaming, that tradeoff becomes obvious in dark HUD-heavy scenes: crosshairs, nameplates, and subtitles can trigger blooming or brightness pumping.
HDR gaming advice correctly separates signal support from visible performance, noting that support for HDR formats does not guarantee the hardware can show HDR effectively; local dimming, 10-bit capability, wide color, and adequate brightness all matter for an HDR gaming monitor. In practice, test a dark scene with small bright UI elements. If the screen pulses, the blacks lift, or the UI glows in a distracting cloud, the HDR experience will feel less precise.
Tone Mapping Determines Whether Detail Survives
Tone mapping is the process of fitting HDR content to your monitor’s actual capabilities. If a game or movie is mastered brighter than your display can reproduce, the system must decide what to preserve, what to compress, and what to clip.

The operating system can add another layer because it may tone map HDR content before desktop composition. Some operating system HDR settings use monitor information and HDR metadata to map content before it reaches the final desktop image. That means two monitors with similar panels can still look different depending on display identification data, HDR mode, GPU behavior, and monitor firmware.
A practical example is a game mastered for 1,000 nits running on a 600-nit monitor. Good tone mapping keeps cloud texture, flame detail, and bright UI readable. Poor tone mapping clips those areas into flat white or compresses the whole image until it looks dim and lifeless.
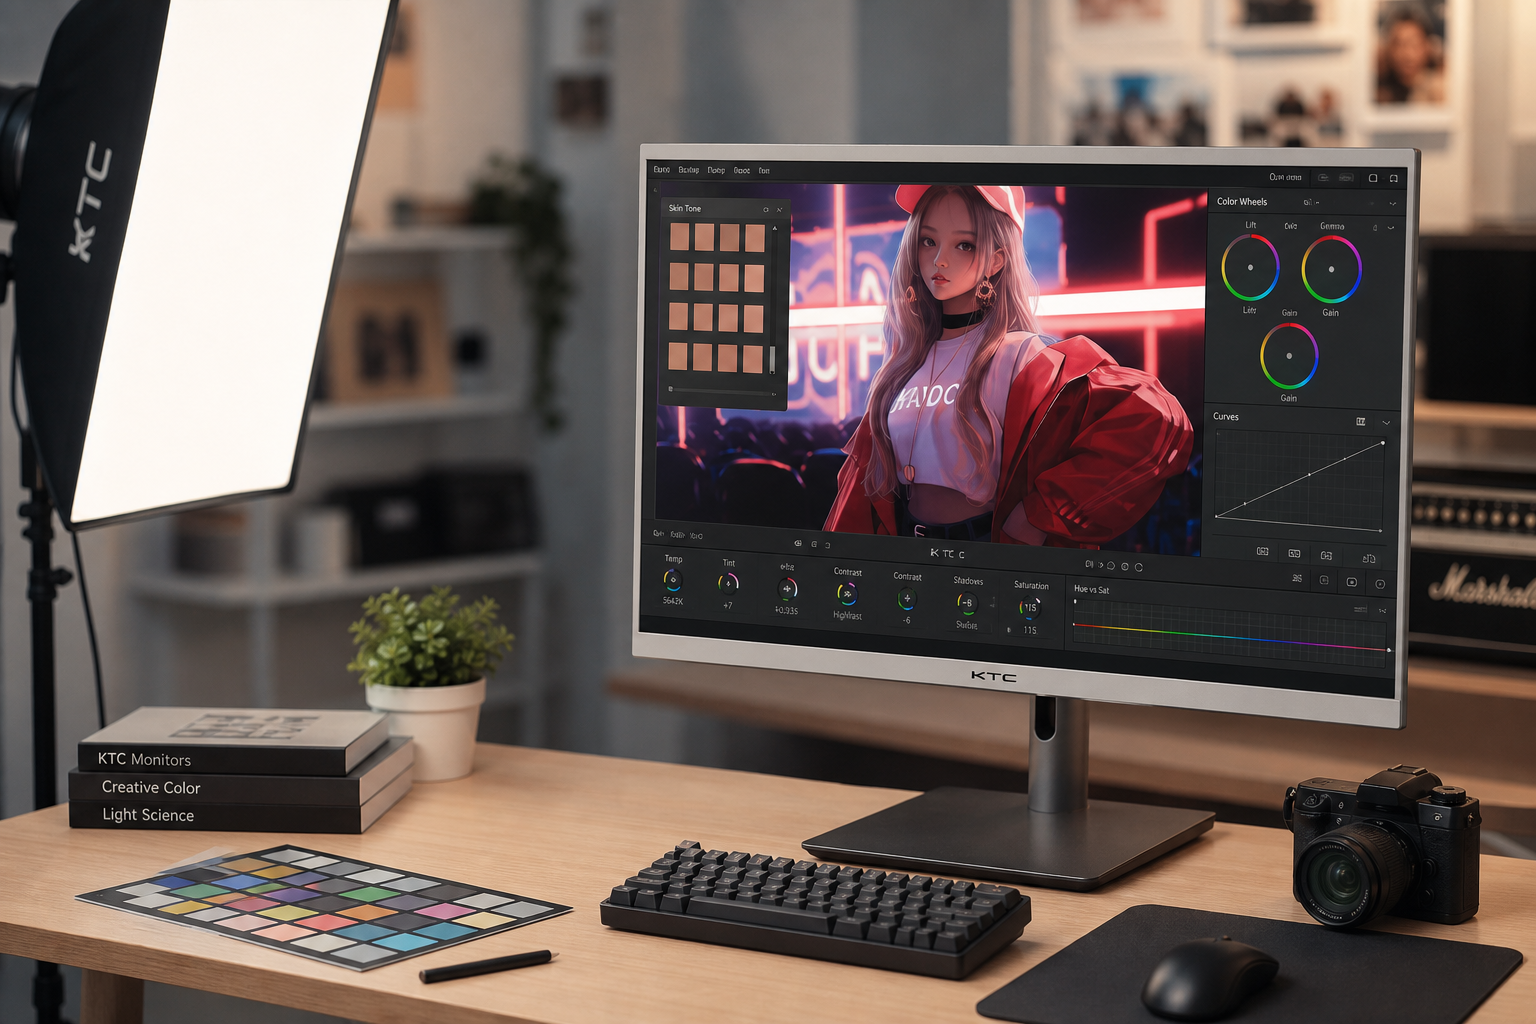
Color Volume, Bit Depth, and Banding Matter More Than “Vivid”
HDR should expand both light and color, but oversaturation is not accuracy. A display can look exciting in a store mode and still mishandle skin tones, foliage, gradients, and creator work.
Wide-gamut capability is commonly judged against DCI-P3 for monitors, while HDR content and standards may reference larger containers such as BT.2020. The HDR performance standard includes color gamut, bit depth, contrast, brightness, and response checks because HDR quality depends on the whole rendering chain.
Bit depth is especially important in skies, fog, smoke, and smooth UI gradients. Eight-bit output can show visible banding where 10-bit handling looks smoother. Many monitors use 8-bit plus dithering, which can be acceptable when well implemented, but a true HDR workflow still benefits from a clean 10-bit signal path from GPU to cable to monitor.
Response Behavior Affects HDR Motion
HDR can make motion artifacts easier to notice because bright highlights and dark backgrounds create stronger visual edges. A slow transition from black to bright can smear muzzle flashes, stars, UI elements, or fast camera pans. This is why HDR evaluation includes response behavior, not just static image quality.
Formal HDR frameworks include rise-time expectations, and true-black categories are designed around emissive displays, where black-level depth and fast response are central to the experience. For competitive gaming, this matters as much as brightness. A monitor that looks cinematic in a still frame can feel less responsive if highlights trail during motion.
The real test is a familiar fast scene. Pan across a city at night, move through a dark shooter map, or scrub an HDR timeline with bright practical lights. Watch whether small bright details stay clean or smear into gray trails.
How to Evaluate HDR Without Lab Gear
A colorimeter is required for formal verification, but you can still make a useful first-pass judgment with careful setup. Use the most accurate HDR preset, turn off flashy contrast boosters, enable HDR in the operating system and the game or app, and run an HDR calibration app if your system provides one.

The KTC practical workflow for measuring HDR without a colorimeter is useful for home users because it focuses on visible clipping, black detail, consistency, and scene comparison while acknowledging that software tools are not lab-grade measurement. After calibration, use familiar content: one dark scene with subtitles, one bright outdoor scene, one colorful HDR scene, and one fast-motion scene.
If blacks turn gray, the monitor lacks contrast or the setup is wrong. If highlights lose texture, tone mapping or clipping is the issue. If the whole screen dims during bright scenes, sustained brightness or automatic brightness limiting is the limit. If colors look electric but skin tones look wrong, gamut handling or preset accuracy needs attention.
What to Prioritize by Use Case
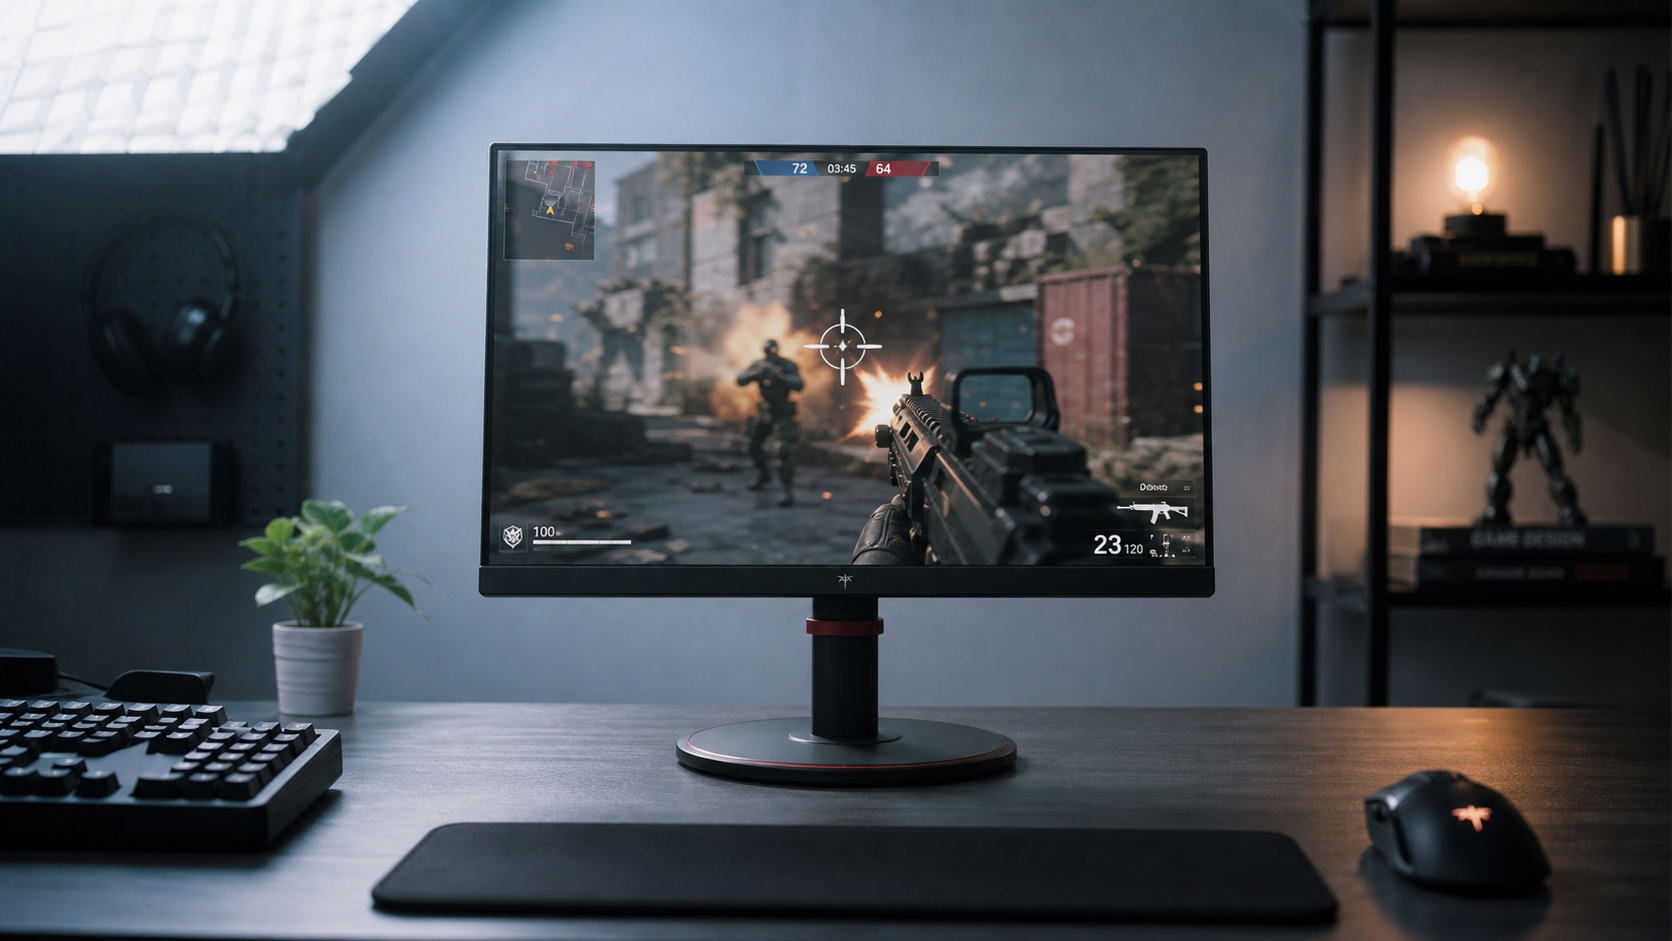
For pro gaming, prioritize low black level, clean local dimming or emissive pixel control, low response time, proper HDR10 support, and stable HDR handshake behavior. Peak brightness helps, but it should not come at the cost of input feel, blooming, or crushed shadow detail.
For office productivity displays, HDR is less valuable unless you also watch media, edit HDR content, or want a brighter mixed-use screen. Strong SDR accuracy, text clarity, ergonomics, and stable brightness often matter more during eight-hour work sessions. Leaving HDR enabled all day can make SDR desktop content look inconsistent on some setups, so toggling HDR only for HDR content is often the cleaner workflow.
For portable smart screens, be skeptical of HDR claims. Power and heat limits often restrict brightness and dimming hardware. A portable display that accepts HDR may still deliver only a modest upgrade over SDR, so sustained brightness, color accuracy, and USB-C power behavior deserve close attention.
Pros and Cons of Chasing Higher HDR Specs
Higher peak brightness can make highlights more dramatic, improve bright-room visibility, and give tone mapping more headroom. Higher HDR certification tiers also tend to imply better supporting hardware, especially when combined with better black levels, wider color, and stronger dimming.
The tradeoff is that peak brightness can mask weaknesses. A very bright LCD can bloom in dark scenes. An emissive display can deliver perfect blacks but dim large bright areas. A Mini LED display can look spectacular in HDR movies but vary depending on dimming behavior. A budget HDR monitor may accept the signal without producing the contrast, color volume, or sustained output that makes HDR feel worthwhile.
The Reliable HDR Buying Rule
Treat peak brightness as a screening spec, not a verdict. The better question is whether the display can hold brightness, keep blacks low, control local contrast, map tones correctly, show wide color smoothly, and stay clean in motion.
A monitor with balanced HDR behavior will make games more readable, movies more dimensional, and creator work more trustworthy. The winning display is not the one with the loudest nit number; it is the one that keeps detail, depth, and responsiveness intact when the scene gets difficult.


