


Washed-out console HDR usually comes from a mismatch between the game’s HDR output, console calibration, and the monitor’s real brightness or contrast limits. Calibrate HDR to the screen you actually own, disable fake enhancement modes, and compare HDR against SDR in the same bright scene before locking in settings.
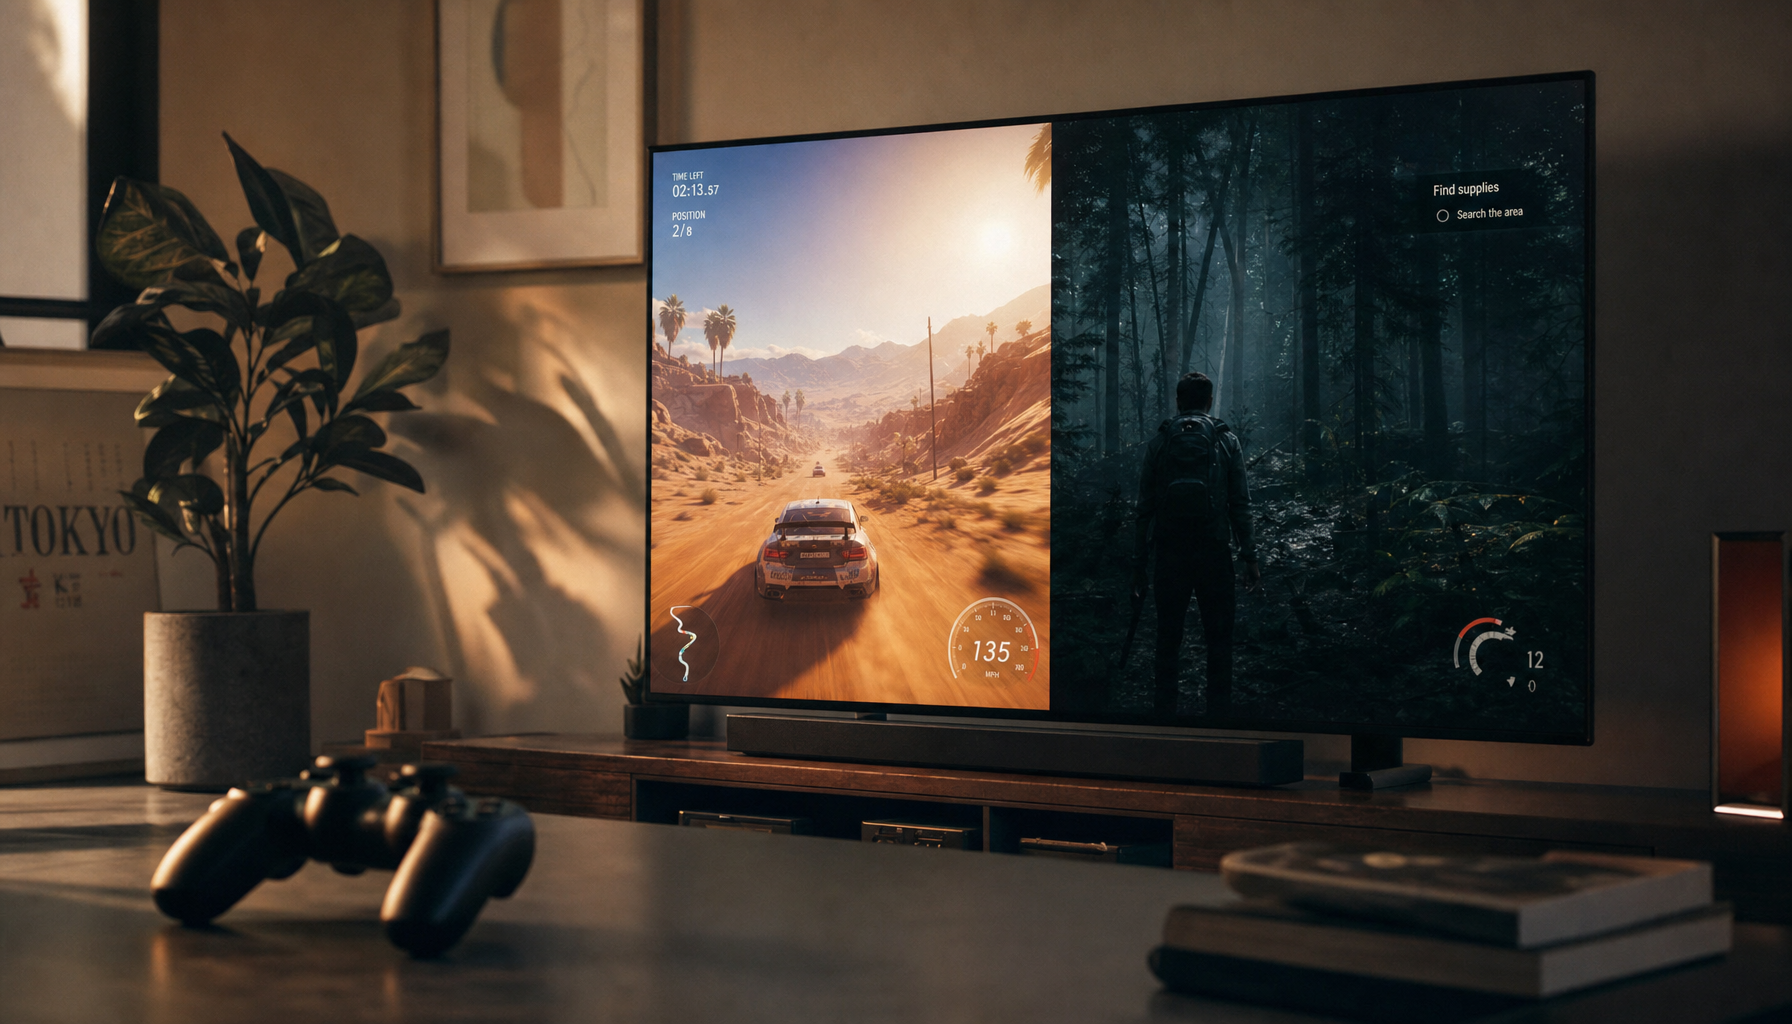
Does your desert map, snowfield, or sunlit racing track look pale the moment HDR turns on? In practical display tuning, the fastest improvement usually comes from recalibrating console peak brightness and removing monitor-side boost modes that fight the game’s tone mapping. Here is a clean, reliable path to richer color without crushing detail or adding lag.
Why Console HDR Can Look Desaturated Outdoors
Bright outdoor scenes are difficult because they push more of the image toward high brightness at once. HDR is meant to expand brightness and color volume, but that only works when the display can preserve contrast, color gamut, and highlight detail at the same time. HDR expands brightness range and color volume, but weak HDR implementation can make the image look gray, dull, or washed out even when the console detects an HDR signal.
The key concept is tone mapping. A console or game may output a bright HDR scene mastered beyond what your monitor can physically show, so the display compresses brightness and color into its available range. If the monitor is limited, a vivid sunset can become beige, grass can lose saturation, and white clouds can flatten into one bright sheet.

This is especially common on entry-level HDR monitors. HDR400 is basic compatibility, not a guarantee of premium HDR impact. A monitor may accept HDR10 over HDMI and still lack the peak brightness, local dimming, black-level control, or contrast needed to keep outdoor scenes saturated.
Start With Console HDR Calibration
The first fix is not the game menu. It is the console-level HDR calibration screen.
Use your console’s display settings to enable HDR10 where required, then run the built-in HDR calibration tool. Console HDR setup tells games how bright your display can get before highlight detail disappears.

For example, if your monitor is an HDR400 model, do not calibrate it like a 1,000-nit OLED or Mini LED display. When the console believes the screen can show more brightness than it really can, the game may push outdoor scenes too hard, and the monitor will compress the image. That compression often reads as faded color, not just excessive brightness.
Set the peak white step so the symbol is barely invisible, not aggressively gone. Set black level so the dark symbol just disappears without lifting the whole image. Then test in a game scene with blue sky, grass, skin tones, and bright clouds. If the sky looks intense but the grass looks chalky, the peak value is likely too high.
Disable Monitor Modes That Fight HDR
Many gaming monitors ship with features that help SDR visibility but damage HDR balance. Dynamic contrast, black equalizer, shadow boost, HDR effect modes, vivid color presets, and extreme game modes can interfere with the HDR signal.
A true HDR signal carries metadata that helps the display map brightness and color correctly. Fake HDR simulation modes do not use real HDR metadata and may overbrighten the image, crush blacks, or reduce accuracy. That is exactly the wrong trade-off when a console game is already sending HDR10.
For a clean baseline, set the monitor to its real HDR mode, turn off black equalizer or shadow boost, avoid vivid color presets, and keep contrast near the default unless the monitor manual recommends otherwise. If the monitor has local dimming, test it on and off in a bright outdoor area. Mini LED displays usually need local dimming for convincing HDR, while some edge-lit HDR400 monitors may show raised blacks or unstable brightness with aggressive processing.
Match the HDMI Port, Resolution, and Refresh Rate
HDR color problems are sometimes a signal-path issue, not a panel-quality issue. Use the monitor’s best HDMI port and a certified cable, then confirm the console is outputting the resolution, refresh rate, and HDR mode you expect.

For modern consoles, HDMI 2.0 can often support 4K HDR at 60 Hz, while HDMI 2.1 is preferred for 4K at 120 Hz with VRR where supported. Console HDR quality depends on HDMI bandwidth, target resolution, refresh rate, tone mapping, and the monitor’s HDR behavior.
A simple check is to open the console’s video information screen after launching a game. If HDR drops out at 120 Hz, or if the monitor only supports HDR on one HDMI input, you may be seeing a reduced or inconsistent mode. Use the correct HDMI port first, then recalibrate HDR after the console confirms the final output mode.
Tune the Game’s HDR Sliders With a Bright Scene Loaded
Game HDR menus vary widely. Some use maximum luminance, some use paper white, some use UI brightness, and some show vague logo screens. The most reliable method is to tune while repeatedly returning to the same outdoor location.
Maximum luminance controls the brightest highlights. If it is too high for your monitor, sunlit scenes can lose color separation. Paper white or HDR brightness controls the general brightness of normal objects. If it is too high, the whole scene lifts, saturation falls, and the image looks like SDR with a flashlight pointed at it.
Use a real gameplay reference. Stand in a bright area with sky, foliage, road surface, and character clothing visible. Lower paper white until mid-bright objects regain color. Then adjust peak brightness until clouds, sun glints, and reflective surfaces hold detail without turning the scene flat.
Know When SDR Is the Better Choice
HDR is not automatically better on every monitor. This is not a console failure; it is a hardware limit. Good HDR depends mainly on contrast, brightness, local dimming quality, and color gamut. If those pieces are weak, SDR can look more colorful and consistent because the display is operating inside a range it can control well.

Display situation |
Better starting point |
Why it matters |
HDR400 with no local dimming |
Compare SDR and HDR per game |
HDR may look compatible but washed out |
OLED monitor or TV |
HDR with careful calibration |
Strong black levels preserve color impact |
Mini LED display |
HDR with local dimming tested |
High brightness helps outdoor scenes |
Edge-lit office monitor with HDR label |
SDR for many games |
Limited contrast can flatten bright scenes |
For bright racing, sports, arcade, and animated games, HDR400 may still provide a mild boost. For games with intense sunlight and subtle color grading, a weak HDR mode may desaturate the very scenes you expected to improve.
Keep Color Temperature Neutral
Color temperature will not fix bad tone mapping, but it can prevent a second layer of color error. A neutral target around 6500K is a good baseline for gaming displays because it avoids an overly blue or overly warm image. Color temperature affects gaming color balance, and an extreme cool preset can make outdoor scenes look harsh while reducing natural color depth.
Use the monitor’s standard, custom, or sRGB-like preset as a starting point if HDR mode allows it. Avoid stacking a vivid color preset on top of HDR; it may look punchy in menus but unstable in real scenes.
A Reliable Test Routine
Use one game with repeatable lighting, such as a fixed daytime race, open-world overlook, or training area. Compare the same scene in SDR, then switch to HDR, recalibrate the console, and adjust only one setting at a time. The winning setting is not the brightest one; it is the one where clouds retain shape, grass still looks green, shadows stay grounded, and UI elements do not glow unnaturally.
If HDR still looks pale after console calibration, correct HDMI mode, disabled enhancement settings, and sensible game sliders, the monitor is likely the limiting factor. At that point, SDR is the value-oriented choice until you move to a display with stronger HDR hardware, such as HDR600 or better, Mini LED local dimming, OLED contrast, HDMI 2.1, and proven low input lag.
FAQ
Should I leave HDR on all the time?
For console gaming, enable HDR when the game supports it well and the monitor handles it well. For general desktop use through a PC, HDR can make SDR content look incorrect, so toggling it only for real HDR content is often cleaner.
Why do bright scenes look worse than dark scenes?
Bright scenes raise the average picture level, which can expose limited brightness, weak contrast, or poor tone mapping. Dark scenes usually reveal black-level problems, while sunlit scenes reveal whether the screen can hold color at high brightness.
Is HDR400 bad for console gaming?
Not always. It can work for colorful, bright games where mild HDR is enough, but it should be treated as entry-level HDR. If outdoor scenes look faded no matter how you tune them, the HDR400 hardware is probably accepting the signal without delivering the full visual benefit.
Strong console HDR is controlled, not merely enabled. Calibrate the console to the real display, strip away processing that fights the signal, and judge HDR against SDR in the scenes you actually play. The right setting is the one that keeps color, contrast, and control working together.


