


Mini-LED calibration works best when you treat it like a workflow, not a single settings change. Start by stabilizing the room, then set an HDR baseline, then judge local dimming and shadow detail, and only after that fine-tune color for work. That order helps hybrid desks stay usable for spreadsheets by day and gaming by night.

Set Up the Desk Before You Touch the Menu
For a hybrid desk, the room is part of the calibration. Window glare, lamp spill, and a bright wall behind the monitor can change how black level and saturation look, so fix the viewing environment before you start judging the panel.
Pick one usual work position and one usual gaming position. Then check what changes when you sit higher, lower, or a little closer. That small shift can change how obvious halos look around text or windows, which is why a good Mini-LED calibration workflow starts with consistency, not perfection.
If you want a deeper walkthrough of the dimming trade-offs, the linked guide on mixed-desk local dimming is a useful follow-up after this first pass.
A simple rule works well here: if the room is still changing a lot from one hour to the next, do not judge the display yet. Recheck once the desk lighting is closer to the way you actually use it.
Choose the Baseline Picture Mode
For most people, the safest starting point is a neutral or custom SDR mode, not the brightest preset. SDR office work needs stable whites and readable text, while HDR is better treated as a task-based mode for supported games or media.
Set brightness for the real desk light you use most often. A panel that looks great in a showroom can feel too aggressive at a desk, especially if local dimming makes highlights feel extra hot against a dark background.
Lock in a standard color temperature and a familiar gamma option before you touch HDR or local dimming. That makes it easier to notice whether the image is crushing near-black detail or just looking vivid.
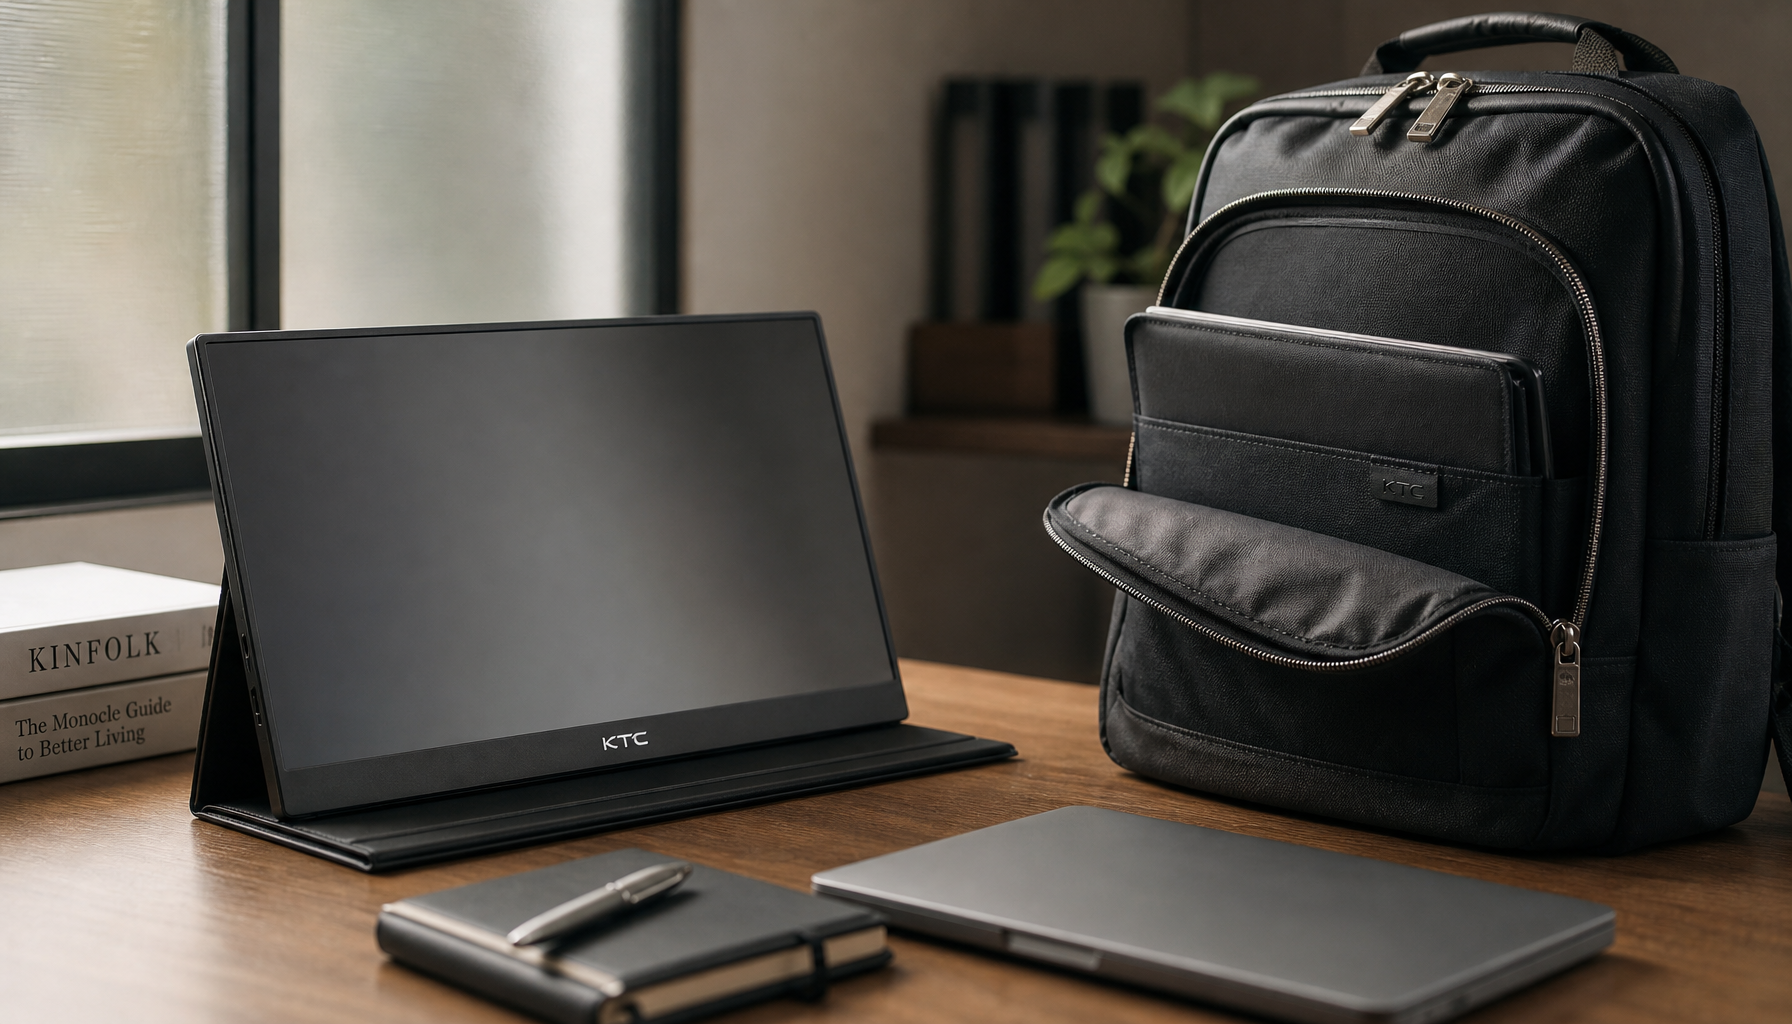
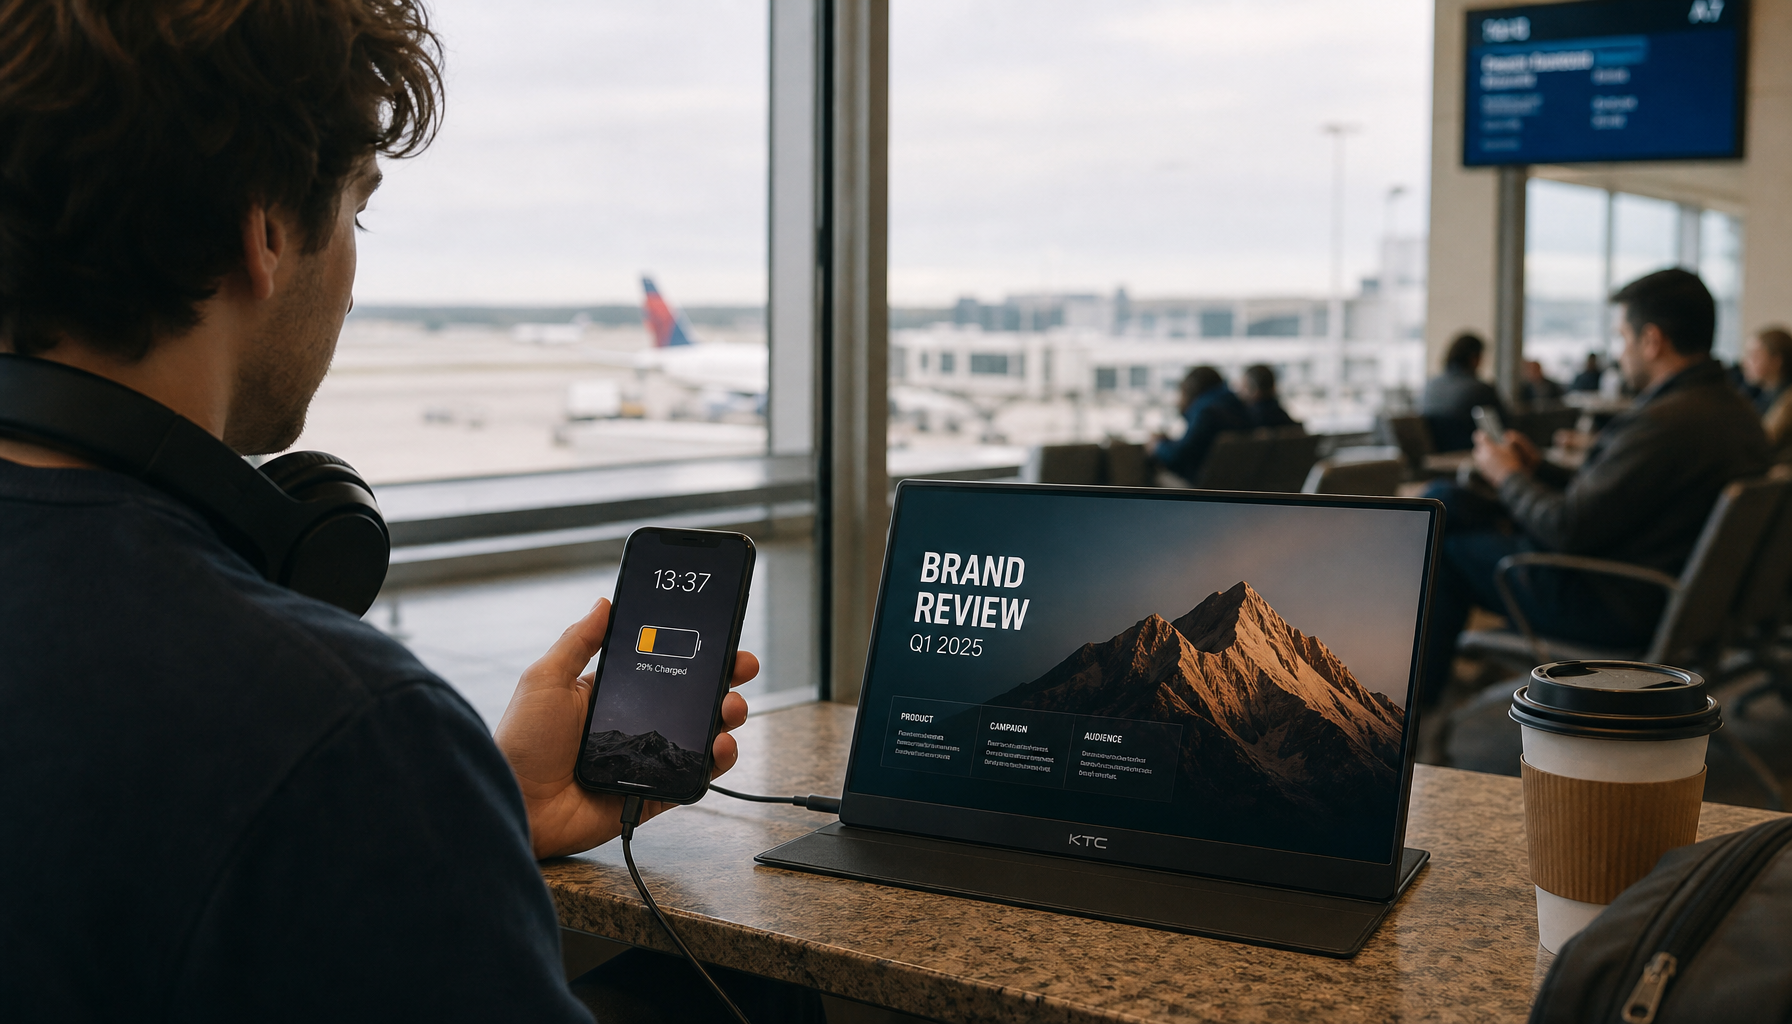
If you are shopping for a monitor that can handle both work and gaming, the KTC Mini LED 27-inch desk fit is a reasonable example because its 27-inch size and fully adjustable stand make it easier to keep a steady view while you test settings. It is best treated as a fit check, not a universal recommendation.
What this means in practice: if the monitor only looks right after repeated mode switching, the setup is already getting too fussy for a hybrid desk. A simpler baseline is usually easier to live with.
Tune Local Dimming and HDR Carefully
This is the part where most people overcorrect. Stronger local dimming can deepen blacks, but it can also make halos more visible around small bright objects like cursors, text, and window edges. The goal is not the most dramatic image; it is the most usable one for your mix of office tasks and games.
Use the official Windows HDR Calibration app if you are on Windows. It gives you a practical baseline for HDR minimum and maximum luminance on your specific panel, which is a better starting point than guessing from the monitor menu alone.
Then compare local dimming levels in the same scene. A restrained setting often keeps desktop text calmer, while a stronger setting can help HDR games and movies pop more. The right answer depends on whether you care more about office comfort or darker scene depth.
Use a black-level or gamma test to make sure shadow detail is still visible after the HDR baseline is set. Lagom's black level pattern is a simple way to check whether the darkest steps are still separated instead of being crushed into one block.
Office-like scenes matter here. A setting that looks fine in a game can still be annoying if your cursor blooms, your taskbar shimmers, or white browser windows keep pulling your eye. TestUFO's local dimming artifact test is helpful because it shows the kind of UI behavior that often gets missed in movie scenes.
A useful decision sentence: if the strongest dimming mode improves HDR but makes normal desktop use distracting, the safer hybrid-desk choice is the more restrained mode. If the weaker mode keeps text calmer but flattens HDR too much for your use, keep HDR for entertainment sessions and leave SDR steadier for work.
How different dimming zone shapes affect blooming is a good background read if you want to understand why two Mini-LED monitors can react differently even when they look similar on paper.
Verify Color for Work Tasks
Once local dimming feels acceptable, check whether the monitor is close enough for everyday work. You do not need professional gear for this step. You need simple visual checks that tell you whether the display is comfortable, believable, and repeatable.
| Check | What to look for | What it tells you |
|---|---|---|
| Skin tones or product photos | Faces should not look unnaturally orange, red, or gray | Color temperature and saturation are still in a usable range |
| Gray ramps and neutral backgrounds | Grays should look even, not tinted green, pink, or blue | White balance is close enough for office and web work |
| Text edges and white windows | Text should stay clean without glow that feels distracting | Local dimming is not overreacting to small bright objects |
| Dark scene detail | Near-black steps should still separate instead of merging | Shadow detail is not being crushed by the current preset |
For hybrid work, neutral grays and readable text usually matter more than perfect numbers. If the image looks balanced in those checks, you are close enough for normal use.
If you want a simple maintenance reminder after this step, the note on when to recalibrate a monitor is a practical follow-up, especially if your desk lighting changes often.
A good Mini-LED calibration workflow does not end with a perfect reading from a test pattern. It ends when the display looks consistent enough that you stop thinking about it while working.
Use the Final Checklist Before Saving a Preset
Before you save anything as your daily Mini-LED calibration preset, run one last pass in the same room light you normally use. Check SDR comfort, check HDR behavior, inspect shadow detail, and look at text or cursor halos again.
If the monitor makes day and night profiles easy, separate them. If not, keep the setup simpler. A low-friction preset that you actually use is better than a more complex one that gets ignored after a week.
Retest after you move the monitor, change lamp position, or shift the desk toward a different window. Those changes can alter how blooming and contrast feel just enough to make an old preset less comfortable.
If you are still comparing models, browsing all Mini-LED monitors can help you line up the product class with the workflow you want. The best choice is the one that stays calm enough for office work and still feels worthwhile when HDR content is the focus.
FAQs
How Do I Know If Local Dimming Is Too Strong?
It is probably too strong if halos around windows, cursors, or bright text become distracting during normal work. Compare the same scene in SDR and HDR, and keep the setting that preserves readable text and shadow detail without making the desktop feel jumpy.
Should I Use HDR or SDR for Hybrid Desk Work?
SDR is usually the steadier default for office tasks. HDR makes more sense for supported games and media, especially after you have calibrated the display in Windows. If HDR makes text or white windows feel harsh, leave SDR as your daily mode.
Why Does My Mini-LED Monitor Look Different at Night?
Room light changes perceived contrast. At night, the same preset can feel brighter, darker, or more halo-prone because your eyes adapt differently and there is less ambient light to mask the effect. Recheck brightness and local dimming when the room lighting changes.
Can I Calibrate a Mini-LED Monitor Without Professional Gear?
Yes, you can get a useful result with built-in controls, the Windows HDR Calibration app, and free test images like Lagom and TestUFO. It will be more approximate than lab calibration, but it is often enough for mixed work and gaming.
How Often Should I Revisit My Calibration Settings?
Recheck the preset after major room-light changes, after moving the monitor, or whenever the image starts feeling less comfortable. For general use, a periodic review is often enough; you do not need to retune it every day unless the desk conditions keep changing.
Wrap-Up
Mini-LED calibration is most useful when it stays practical. Stabilize the room, pick a sensible SDR baseline, then adjust HDR and local dimming only as far as your desk tasks can tolerate. Save the preset that feels steady in real use, not the one that looks best in a single test scene.


