


If backlight bleed suddenly looks worse after you moved, tilted, mounted, or cleaned your monitor, start by reducing panel pressure, testing under realistic lighting, and separating true bleed from IPS glow before attempting any risky fix.
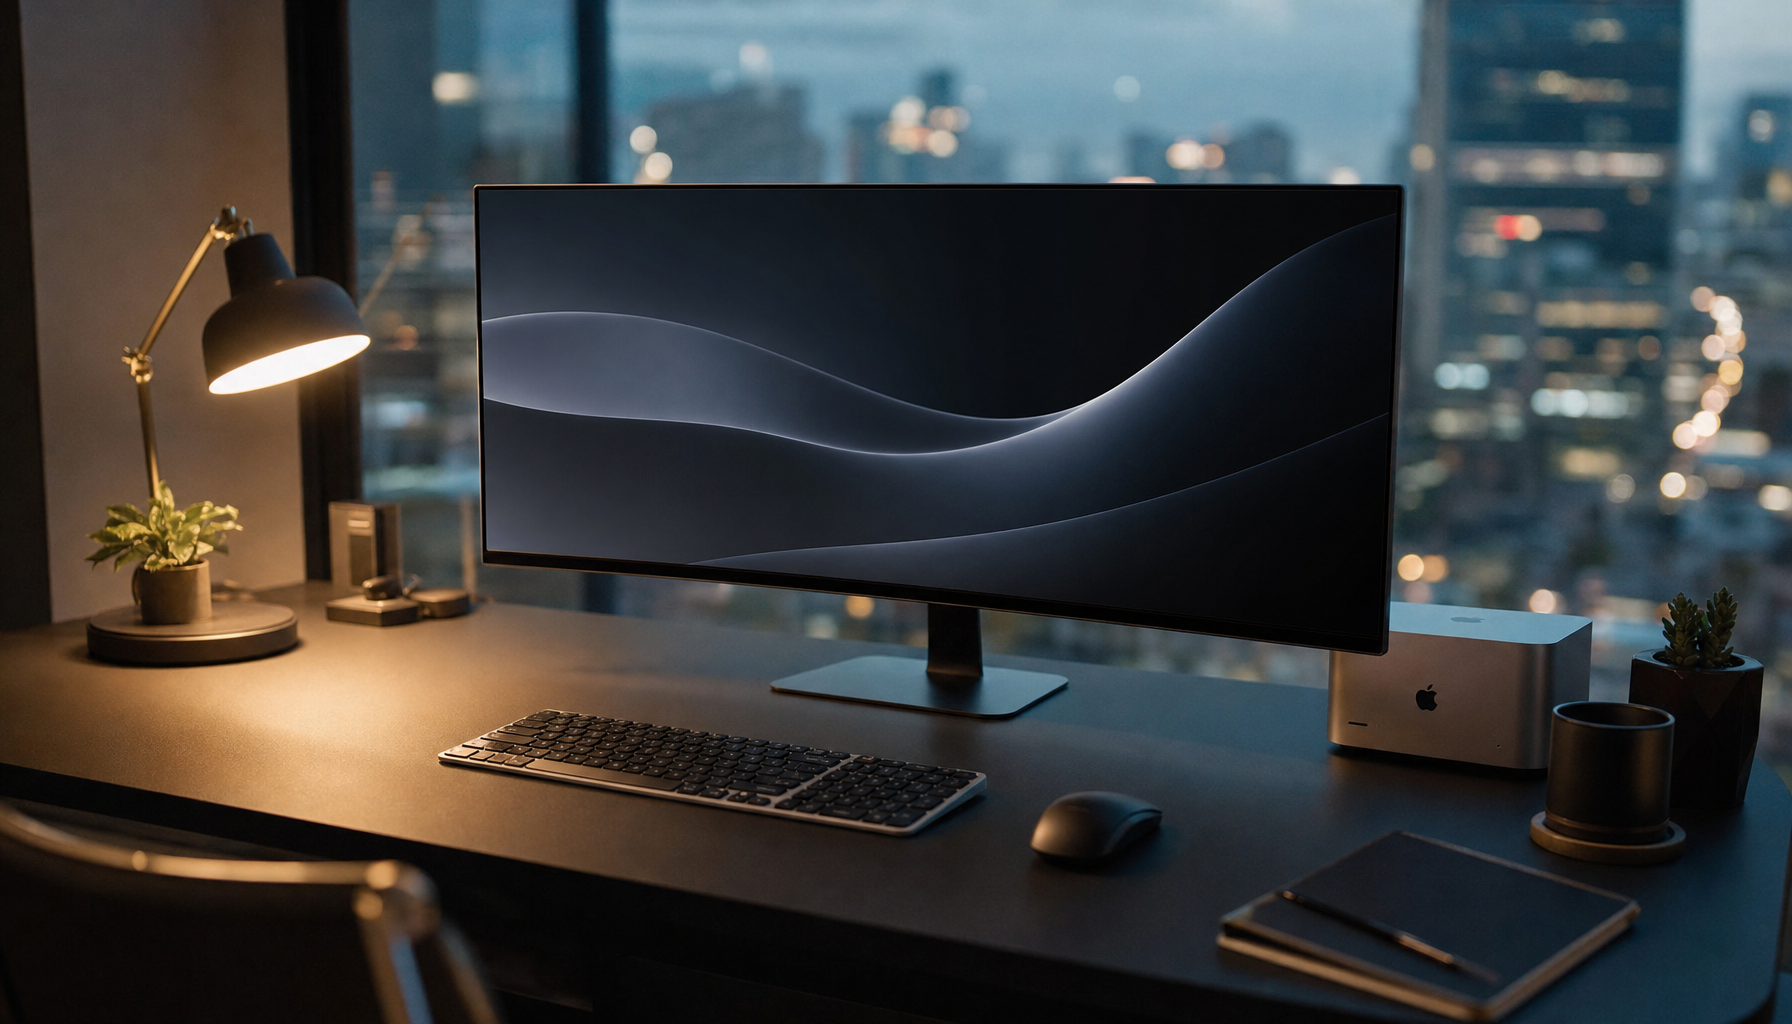
Did a dark game, movie, or black loading screen suddenly show bright corner patches after you shifted your monitor arm or changed the tilt? In practical display setup work, the fastest useful result usually comes from a 20- to 30-minute warm-up, normal brightness, centered viewing, and gentle pressure relief around the frame. You’ll learn how to diagnose what changed, reduce the visible glow safely, and decide when a return or warranty claim is the smarter move.
Why Backlight Bleed Can Look Worse After Moving a Monitor
Backlight bleed is unwanted light showing through an LCD panel, usually near the edges or corners, and it becomes easiest to spot on dark screens in dim rooms. Backlight bleed happens because LCD monitors use a backlight behind the liquid crystal layer, and imperfect sealing, bezel pressure, or panel tolerances can let more light escape in certain areas.
Moving a monitor can change how that pressure is distributed. A new stand angle, tighter VESA mount, desk arm tension, twisted chassis, or a monitor that was recently shipped through temperature changes can make a corner look brighter than it did before. This does not always mean the panel has failed. It often means the display is now being viewed, loaded, or illuminated differently.
Manufacturer support materials describe light leakage as an LCD technology characteristic that is most visible in dim rooms or on dark backgrounds, while noting that product evaluation is often done under ambient lighting closer to normal office use. That matters because a monitor can look terrible on a black screen in a dark room but look acceptable during real productivity, browsing, and gameplay.
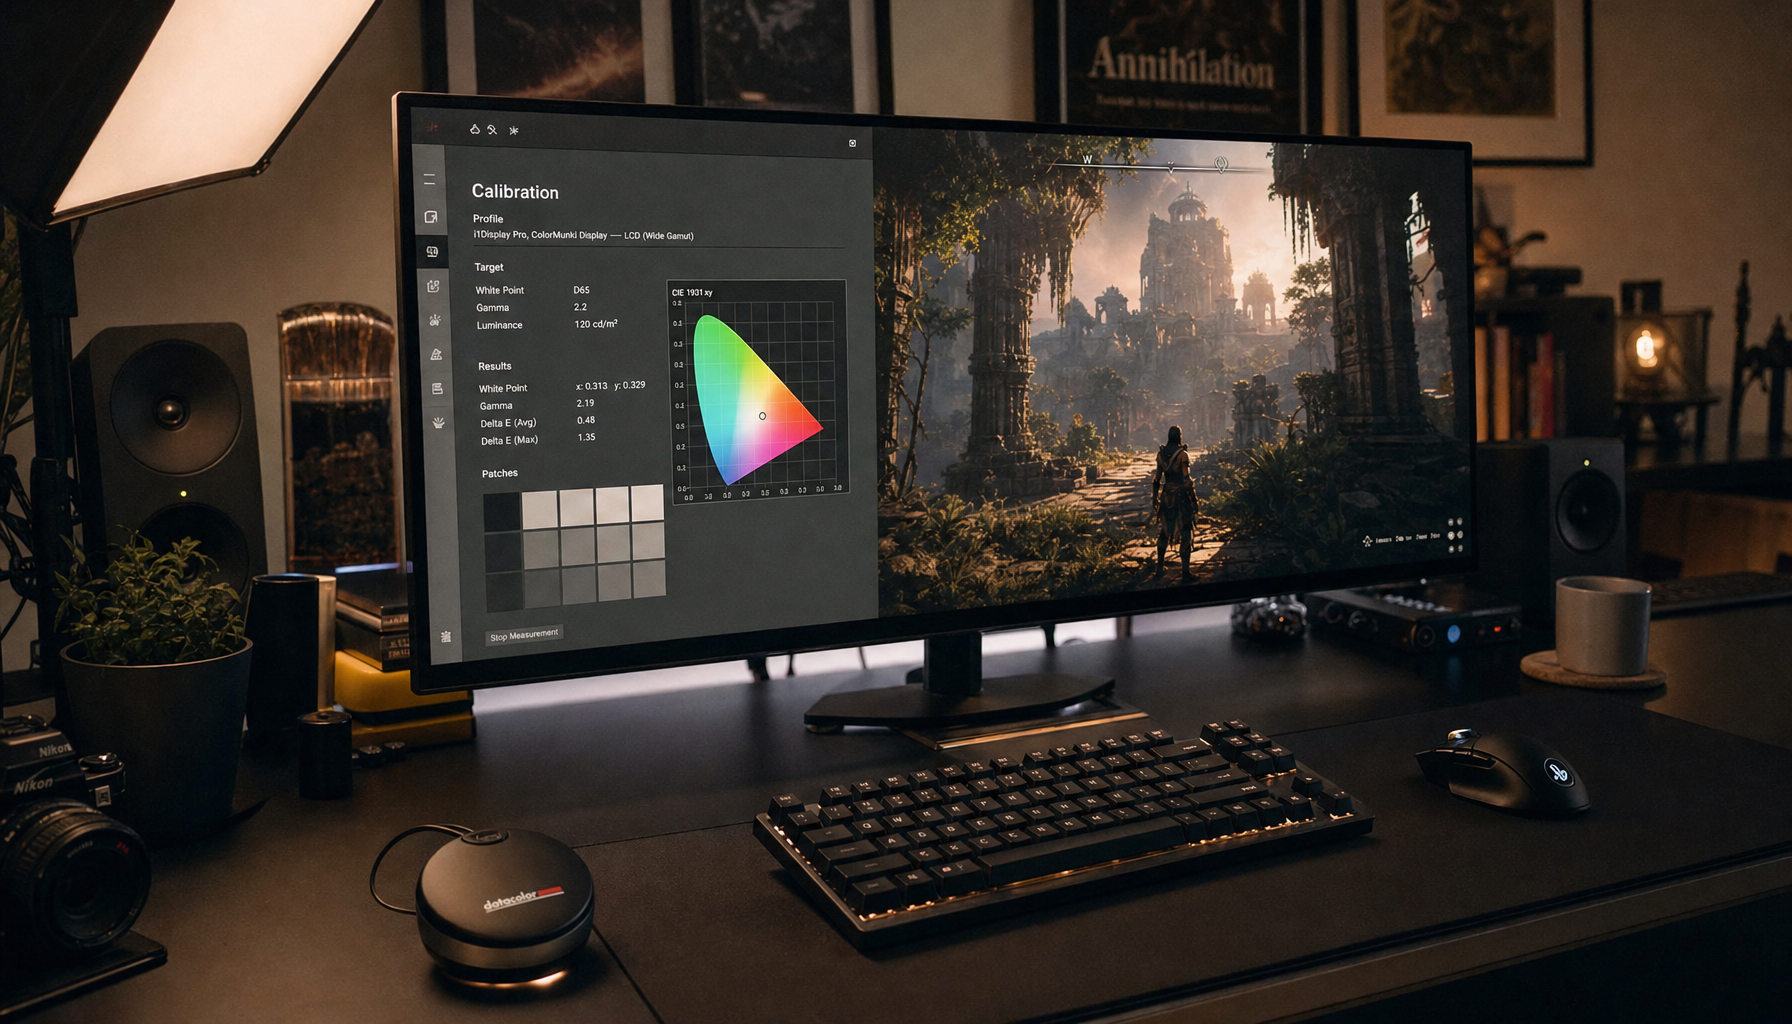
First, Confirm Whether It Is Bleed, IPS Glow, or Clouding

True backlight bleed usually stays in the same physical spot no matter where your head moves. IPS glow shifts with viewing angle, distance, and panel tilt. IPS glow is commonly described as a silvery or bluish corner haze on IPS panels, especially when viewed off-axis, while bleed is more fixed and edge-bound.
Here is the practical test: sit where you normally use the monitor, then slowly move your head left, right, higher, and lower. If the bright patch changes shape, fades, or moves as your angle changes, you are likely seeing IPS glow. If the same lower-left corner stays bright from every angle, especially near the bezel, pressure-related bleed is more likely.
Clouding is different again. It looks like blotchy brightness across the screen rather than a clean corner or edge leak. Curved VA panels and large ultrawides can show this as uneven gray patches, while IPS gaming monitors more often show a mix of corner glow and mild edge leakage. The fix path depends on which one you have, so do not judge from one black-screen photo alone.
Test It the Right Way Before You Touch the Panel
A full black screen can reveal problems, but it can also exaggerate normal LCD behavior. A backlight bleed test is useful when you enter full-screen black mode and inspect the corners, but the result should be compared against real use, not treated as the only verdict.
Let the monitor warm up for 20 to 30 minutes, set brightness around your normal range, and use modest room lighting. KTC’s troubleshooting notes recommend testing black, white, and gray screens from the normal seated position rather than relying on pitch-dark, 100% brightness conditions. For many modern monitors, a daily-use brightness near 20% to 50% is more realistic than showroom-level output.
For example, if you use your 27-inch gaming monitor at night with brightness at 100% and no lamp behind it, the black screen will expose every LCD weakness. Drop brightness to about 30%, turn on a soft desk lamp or bias light behind the screen, and replay the same dark scene. If the bright corner is no longer distracting, you have a visibility problem more than a failure problem.
Relieve New Pressure From the Stand, Arm, or Bezel

If the bleed appeared after mounting or adjusting the display, inspect the mechanical setup first. A VESA arm that pulls unevenly, screws that are too long, a stand that forces the chassis into a slight twist, or a cable tugging against the back shell can all change pressure on the LCD stack.
Power the monitor off, remove any obvious cable tension, and make sure the screen is sitting square. If you recently installed a monitor arm, support the display with one hand and slightly loosen, then evenly re-seat the VESA screws. Do not over-tighten them. The goal is firm mounting, not chassis compression.
If the monitor has exposed rear case screws near the affected corner, some repair discussions suggest loosening them a tiny amount. Treat that as a cautious last-mile adjustment, not a routine fix. Some repair forum users discuss loosening rear screws and gently rubbing affected areas, but the same forum context also makes clear that opening a display or changing internal pressure can worsen the issue and may void warranty coverage.
Use Safe Visibility Fixes First

The most reliable “fix” is often reducing the conditions that make bleed obvious. Lower brightness, add soft ambient light, avoid black desktop wallpapers, and use dark themes carefully rather than forcing every app into pure black. Manufacturer notes on LCD light leakage emphasize that it can appear exaggerated in a dark room with a dark background, so your test environment should match how you actually work or play.
For gaming, this does not mean giving up immersion. It means balancing the room so blacks look deeper to your eyes without driving the backlight harder than necessary. A small light behind the monitor can improve perceived contrast and make corner leakage less dominant. For office productivity, a light gray or neutral wallpaper often hides edge glow better than a pure black background while still looking clean.
The performance tradeoff is straightforward.
Approach |
Benefit |
Downside |
Lower brightness |
Reduces visible bleed and eye strain |
HDR highlights may look less intense |
Add ambient light |
Improves perceived black uniformity |
Not ideal for fully dark cinema-style rooms |
Re-seat mount pressure |
Can reverse movement-related worsening |
Must be done carefully to avoid damage |
Exchange or RMA |
Best option for severe fixed bleed |
Replacement panels can vary too |
Should You Massage the Screen Edge?
A gentle microfiber pass near the affected edge can sometimes reduce a pressure mark, but it is not a guaranteed repair. One set of consistent monitor comparisons documented displays where visible bleed seemed to improve over days or weeks, with the author suggesting shipping stress, casing pressure, snap-fits, screws, and temperature changes as possible contributors.
If you try this, use a clean, dry microfiber cloth, power the monitor off, and apply only light pressure along the edge near the bright area. Think of it as easing pressure, not pushing the panel back into shape. Never press hard on the center of the screen, never use a credit card or sharp edge, and stop immediately if you see rippling, discoloration, cracking sounds, or worsening glow.

The upside is that a light touch may help a slightly shifted panel settle. The downside is that too much pressure can damage the LCD layer, create new pressure spots, or turn a returnable monitor into a self-inflicted repair problem.
Give a New or Recently Moved Monitor Time to Settle
Some newly delivered or recently moved LCD monitors look worse at first and improve after several days in a stable room. In one anecdotal comparison, two monitors appeared to improve over time under consistent photo conditions, with one showing reduction after several days and further improvement after about 11 days.
That is not a universal rule. Still, it is reasonable to avoid judging a new panel within the first few minutes after unpacking, especially if it came from a cold truck, a hot garage, or a tight shipping box. Use it normally for a few days, keep brightness moderate, and take comparison photos only with consistent camera exposure and room lighting.
If you are inside a short return window, do not wait too long. A practical compromise is to test on day one, recheck after several normal-use sessions, and make the return decision before the deadline.
When Replacement Is the Better Fix

Software cannot truly repair backlight bleed because the cause is physical. Monitor backlight uniformity problems are usually hardware-level issues, and adjustments mainly reduce visibility rather than cure the panel.
Replace the monitor or request support when the bleed is obvious during normal use, not just in an extreme black-screen test. A bright corner that ruins dark games, makes movie letterbox bars glow, affects photo editing, or distracts during spreadsheets and browser work is a valid performance problem. For color-sensitive work, even mild unevenness can be more serious because it changes how shadows and tones are perceived across the panel.
The panel type also changes expectations. IPS monitors often trade perfect dark-room uniformity for fast response, color stability, and wide viewing angles. VA panels often deliver stronger blacks but can show clouding or motion smearing. OLED avoids backlight bleed because it has no backlight, but it brings separate concerns such as pixel wear and burn-in management.
What Not to Do
Do not open the monitor unless you are prepared to lose warranty coverage and accept the risk of making the panel worse. Some display repair resources mention advanced methods such as applying tape around LCD edges after dismantling the display, but severe bleed is usually a better reason to pursue return or RMA first. For most buyers, that is the value-oriented choice.
Do not judge the monitor only from a phone photo in a pitch-black room. Phones often boost exposure, making mild glow look severe. Also avoid cranking brightness to compensate for bleed; higher brightness makes the leak more visible and can add heat stress over time.
Do not keep tightening screws to “flatten” the screen. If movement made the issue worse, more pressure may be the problem, not the solution.
A Practical Fix Path for Most Users
Start by returning the monitor to a neutral physical setup: centered stand, no cable pull, evenly seated mount, and no pressure on the frame. Warm it up, set brightness to a realistic level, add modest room light, and test from your normal seating distance. If the patch moves with your head position, tune height, tilt, and distance because IPS glow is likely involved. If the patch is fixed and distracting, try only gentle microfiber pressure relief near the edge.
After that, make a clean decision. If the bleed disappears in normal lighting and content, keep the display and tune your setup for comfort. If it remains obvious in the games, movies, office apps, or creative work you actually bought the monitor for, contact support or use the return window.
A high-performance display should serve the session, not pull your attention to the corners. Reduce pressure, test honestly, avoid risky repairs, and let real-world visibility decide whether this panel earns its spot on your desk.


