


A dockless USB-C KVM setup is the cleanest fit when your monitor can handle the video path and the USB path your desk actually needs. If your MacBook can run from one USB-C or Thunderbolt cable and your Windows desktop can connect through the right video input plus USB upstream, a USB-C KVM monitor workflow can reduce the need for an extra dock layer. If not, a dock still solves a real problem.

What a Dockless USB-C KVM Setup Does
A dockless USB-C KVM setup uses the monitor as the switch point instead of adding a separate docking station. In practice, the monitor handles the display input, and the keyboard and mouse follow the selected computer through the monitor's USB/KVM path. That is the main appeal: fewer boxes, fewer cables, and fewer things to troubleshoot.
The limit is important. A dockless monitor setup is not universal compatibility. It works only when the monitor's input path, upstream USB path, and the device's own port roles line up. As TechPowerUp's KTC G27P6 connectivity review shows, the built-in KVM idea is about making the monitor part of the switch, not replacing every possible dock function on every desk.
For hybrid work, that difference matters. If you want quick switching between a MacBook and a Windows desktop, the dockless USB-C KVM setup can simplify the desk. If you need extra ports, more adapters, or a cleaner expansion chain on the desktop side, a dock may still be the better fit.
Hardware You Need Before You Connect Anything
Before you buy extra gear, check the actual parts of the path:

- A monitor with built-in KVM support
- A video path that matches the source device
- An upstream USB path for keyboard and mouse
- A MacBook and a Windows desktop that can each use the right connection type
Do not assume USB-C alone means video, data, and power will all work the same way. The safest test is a simple direct connection first, then add the KVM path after the base signal is stable. That is why USB-C monitor troubleshooting for desktop PCs is worth checking if the desktop side feels unclear.
Wired peripherals are the least confusing starting point. Wireless receivers can work, but they can also add troubleshooting noise if the monitor, receiver, or emulation path does not behave cleanly. KTC's own support guidance on wireless keyboards and KVM switches reflects that real-world friction.
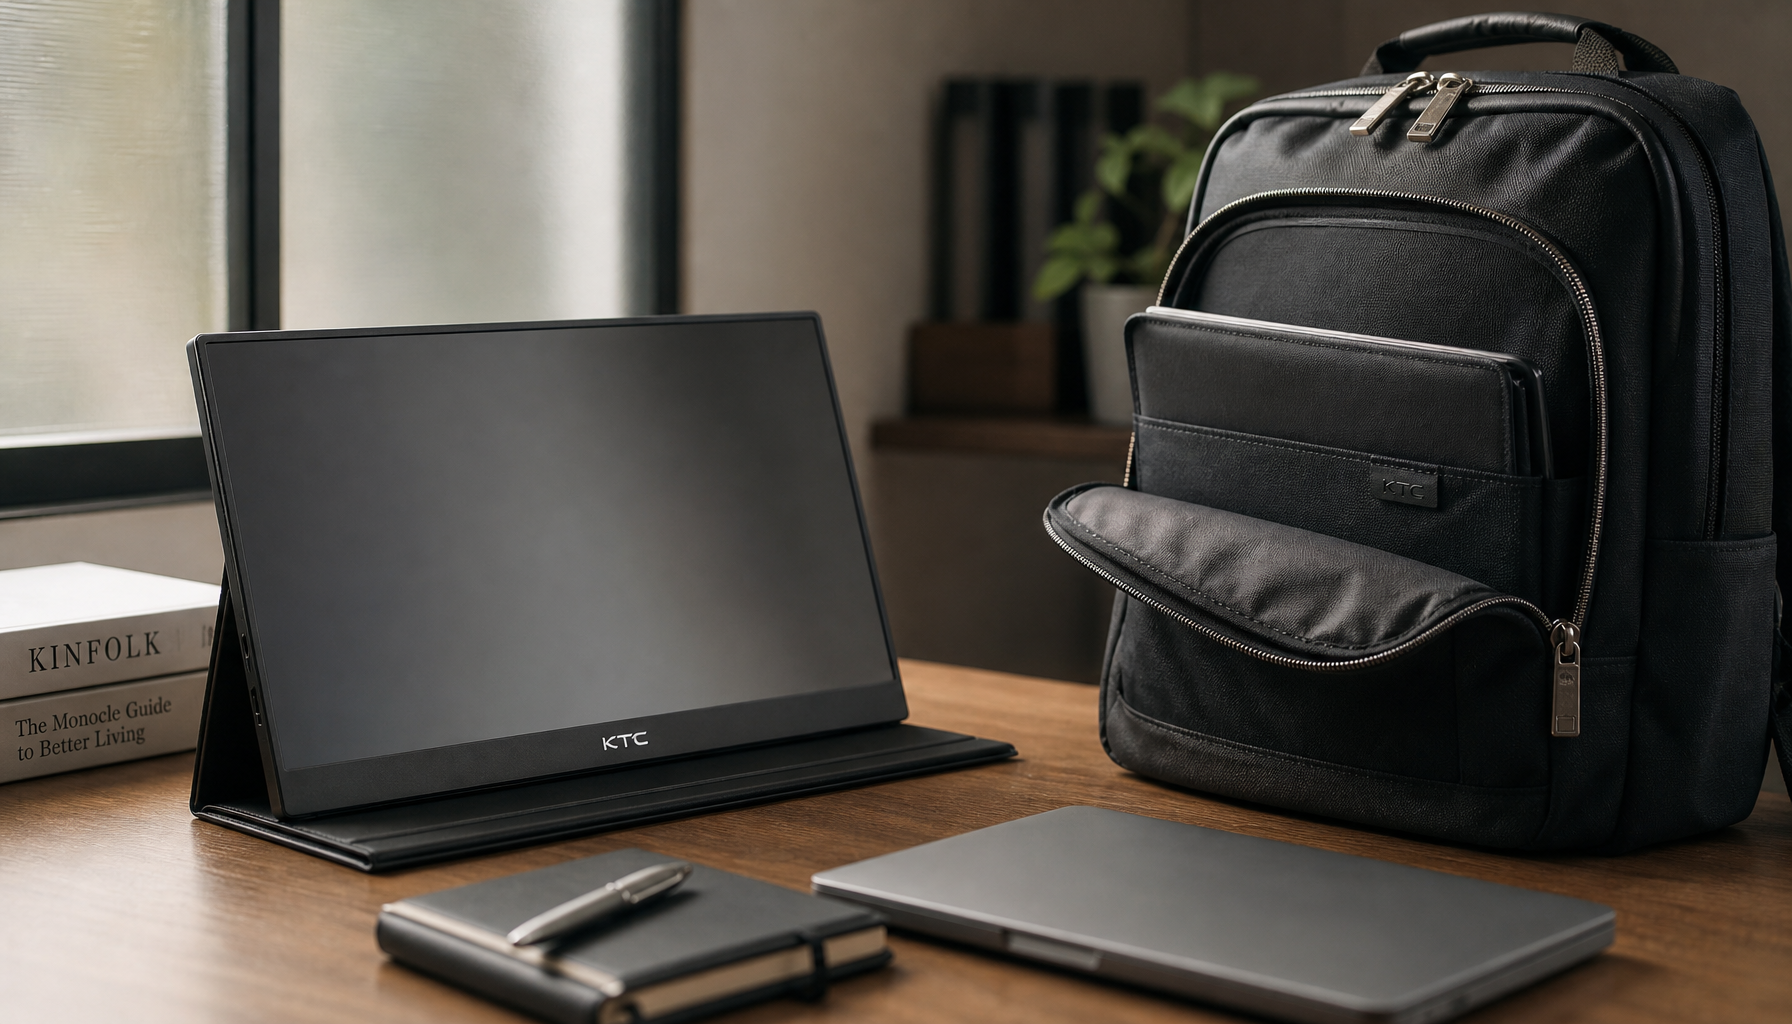
If you are narrowing down a display choice, the featured KTC OLED 27-inch USB-C monitor is a reasonable place to start checking whether the monitor side of the workflow is strong enough for your desk.
How MacBook and Windows Desktops Differ
For most hybrid desks, the MacBook is the easier side of the equation. MacBooks commonly support a one-cable-style path where USB-C or Thunderbolt can carry video, data, and charging together. That is why a monitor-centered setup often feels natural on the laptop side. Plugable's USB-C Alt Mode guide is a good reminder that the connector shape is only part of the story.
Windows desktops are usually less forgiving. A desktop may need separate video and USB upstream connections, and a USB-C port on the machine does not automatically mean it carries display output. In other words, the same dockless USB-C KVM setup that feels simple on a MacBook may need a more careful port check on the Windows side.
| Device | What Usually Works Best | Common Friction Point | What To Check First |
|---|---|---|---|
| MacBook | One USB-C or Thunderbolt cable for video, data, and often charging | Assuming every USB-C cable supports the full path | Confirm the monitor supports the needed USB-C video and charging path |
| Windows desktop | HDMI, DisplayPort, or a confirmed video-capable USB-C path plus USB upstream | Treating USB-C on the motherboard as proof of video output | Check whether the port actually supports display output |
| Shared desk | Monitor KVM for keyboard, mouse, and display switching | Adding adapters before the base path works | Test one direct cable before layering on extras |
If your desktop USB-C port is the reason you are unsure, this desktop USB-C check is the right follow-up. The useful rule is simple: if the monitor covers the video path and the USB path your workflow needs, dockless is enough; if not, the dock is still doing meaningful work.
A Clean Wiring Plan That Actually Works
- Start with the simplest direct video connection you can use on the MacBook side or desktop side.
- Confirm that the monitor shows a stable image before adding any USB switching.
- Add the upstream USB cable for keyboard and mouse after video is stable.
- Test one computer at a time so you know which input is active.
- Add wireless peripherals, adapters, and extra hubs only after the base desk works.
That order matters because it isolates the failure source. If something breaks later, you will know whether the problem came from the cable, the port, the monitor input, or the KVM path itself. KTC's setup guidance for signal cables for gaming and productivity monitors also reflects this direct-first approach.
A practical dockless monitor setup should feel boring after the first test. If you need to keep swapping cables just to tell whether the picture is coming from HDMI, DisplayPort, or USB-C, the setup is too complicated for daily use.
When a Monitor KVM Is Enough
The best-fit desk is usually a simple one: one MacBook, one Windows desktop, a monitor that supports the right input path, and shared peripherals that do not need a separate hub tree. In that setup, the monitor's built-in KVM is enough because it covers the switching job you actually care about.
Here is the decision line that matters most: if the monitor can replace both the video path and the USB hub path for the way you work, keep it dockless. If the desktop needs more ports, more expansion, or a more reliable accessory chain, a dock still earns its keep. That is the real boundary, not the marketing label on the connector.
The featured KTC OLED 27-inch USB-C monitor fits that kind of monitor-centered desk well when you want a cleaner hybrid setup. Its product facts show built-in KVM support and 65W USB-C charging, which makes it a plausible candidate for a laptop-plus-desktop desk. That does not mean every mixed-device desk will behave the same way, but it does make the G27P6 worth checking if your goal is fewer boxes rather than maximum expansion.
Browse monitor-centered options if you are still comparing whether a monitor-first desk is the right category at all.
For most people, the cleanest rule is this: choose a monitor-based KVM when you want fast daily switching and your devices already support the needed paths. Choose a dock when you need more ports, more flexibility, or fewer compatibility unknowns.
Quick Checks Before You Buy or Set Up
- Confirm the MacBook connection type before you order extra cables.
- Confirm the Windows desktop video output before assuming USB-C is enough.
- Test one direct cable first if the monitor does not wake or switch cleanly.
- Keep wireless input devices simple at the start, especially if you notice lag or missed inputs.
- Decide whether your daily workflow really needs a dock, or whether the monitor already covers the job.
If the desk works at first but gets flaky after sleep, the issue may be the handshake rather than the whole concept. KTC's sleep-troubleshooting guide for USB-C monitor wake issues is a useful follow-up when the setup behaves differently after standby.
The goal is not to add more adapters until the desk looks "complete." The goal is to keep the setup as simple as your actual ports allow, then stop there.
Final Takeaway
A dockless USB-C KVM setup is worth it when your MacBook and Windows desktop both fit the monitor's real video and USB paths. If the Windows side needs extra expansion, or if your ports do not line up cleanly, a dock is still the better tool. Start with the monitor, test direct connections, and only add complexity when the workflow truly needs it.


